This article explains how to configure default account mappings, specific account mappings, and item mappings during NetSuite integration setup in Alvys (a one-way export from Alvys to NetSuite), ensuring all transactions export to the correct NetSuite Chart of Accounts.
Overview
Accurate account mapping is essential so that every transaction exported from Alvys to NetSuite posts to a valid account. The NetSuite integration supports three kinds of configuration: default account mappings, specific account mappings, and item mappings. You configure these during step 3 of the NetSuite integration setup wizard.Before You Start
Complete NetSuite authentication and settings configuration before mapping accounts. See NetSuite: Authentication and Settings Configuration in Alvys. You must be signed in as an “Admin”, “Partner Admin”, or “Support” user to access Management > Integrations. Before enabling item mappings, confirm that all required items already exist in your NetSuite account.Steps
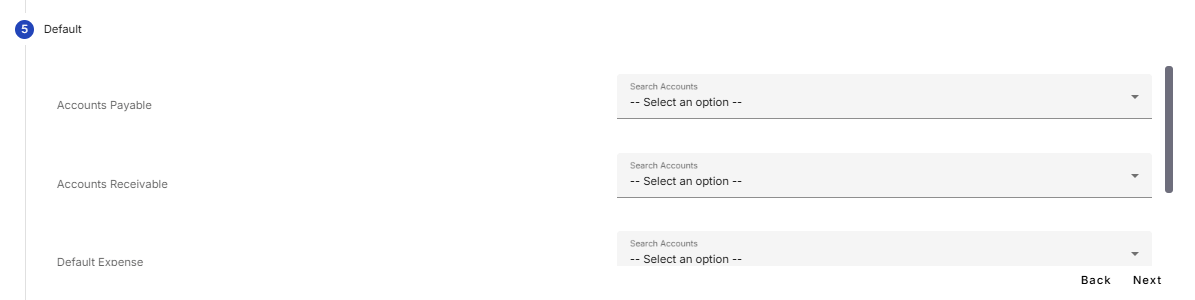
- Set up default account mappings. Default accounts are required and serve as the primary fallback for any transactions not explicitly mapped to a specific account.


-
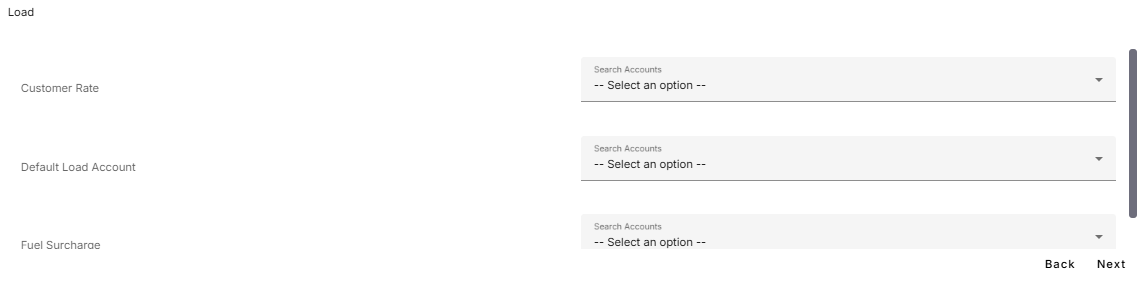
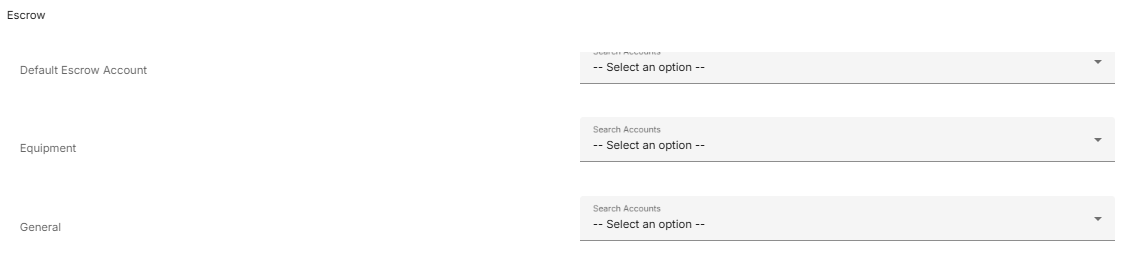
Configure specific account mappings (optional). Specific account mapping provides granular control over which NetSuite accounts each transaction line item posts to.
- Load: The Load category represents revenue transaction line items on customer invoices.
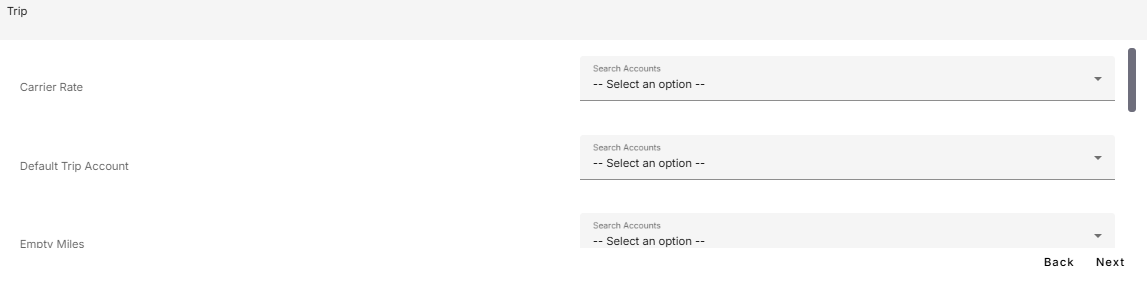


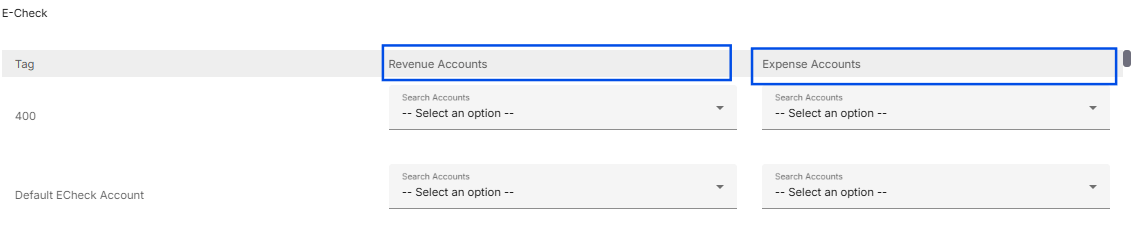

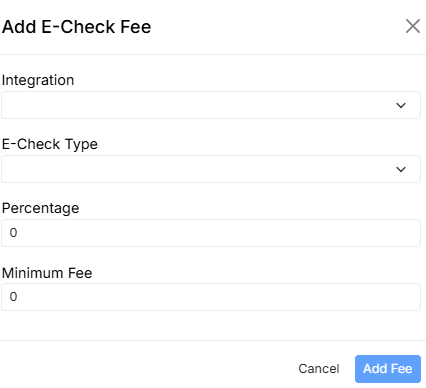
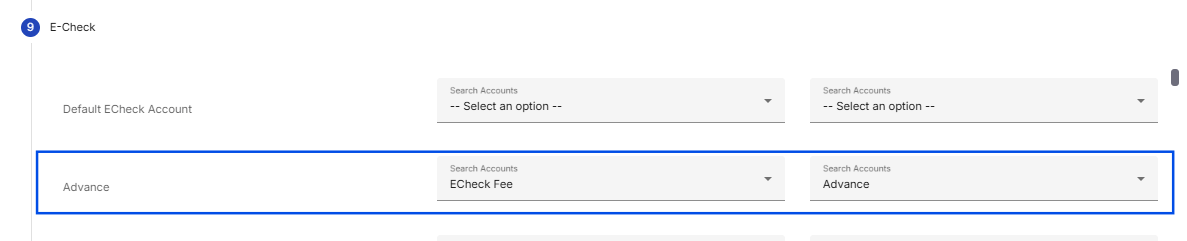
- Mapping for specific E-Check type*
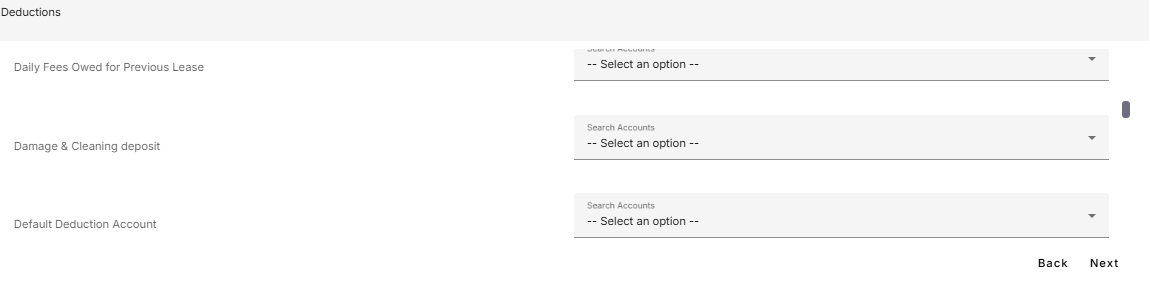
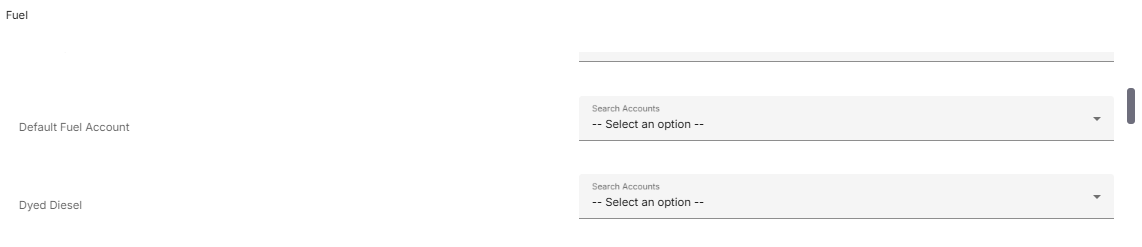

⚠️ Important: The Tax category is deprecated. Skip this step if it appears in the interface.
-
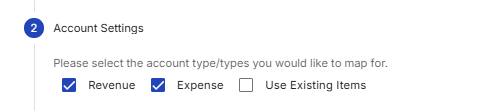
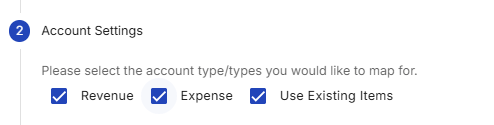
Configure item mappings (optional). Item mappings allow each transaction line exported from Alvys to be associated with a specific NetSuite item rather than posting directly to a general ledger account. The Use Existing Items setting must be enabled.
How item mappings differ from account mappings:
- Default Account Mapping: fallback GL accounts for unmapped lines.
- Specific Account Mapping: dedicated GL accounts per line type.
- Item Mapping (Use Existing Items): each line is mapped to a NetSuite item; the revenue or expense account used is determined by the configuration of that item in NetSuite. Important: When Use Existing Items is enabled, default account mapping options are disabled. Any line item not mapped to a NetSuite item will cause the transaction export to fail. Before mapping items in Alvys, confirm the corresponding items already exist in NetSuite. See How to Create Items in NetSuite.
- Navigate to Management > Integrations and open the NetSuite integration.
-
In the settings step, enable the Use Existing Items toggle.
-
Proceed to the account mapping step. Each dropdown now shows “Search Items” instead of accounts.
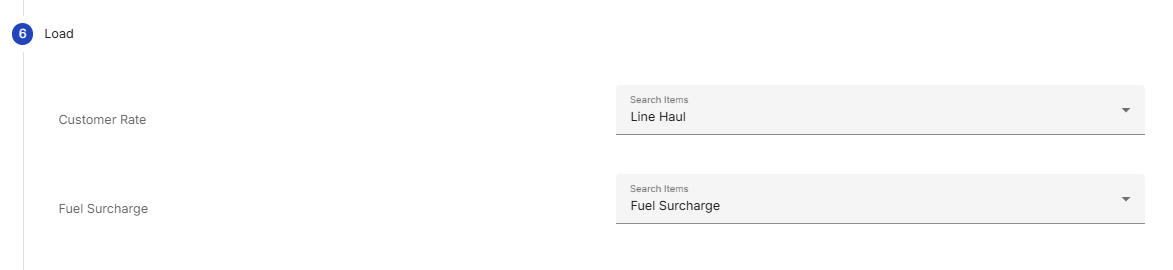
- For each category (Load, Trip, Accessorials, E-Checks, Deductions, Fuel, Tolls, Escrow), select the appropriate NetSuite item from the dropdown. Important: Ensure all required NetSuite items exist before enabling item mappings. Verify each item links to the correct revenue or expense account in NetSuite.
- Complete the setup. Once all mappings are configured, click Done, then the Submit button. A green checkmark will appear next to the integration to confirm it was successfully added.