
Overview
Adding a truck (also called creating a truck record, adding a vehicle, or registering a tractor) to Alvys creates a record your team can assign to drivers, trips, and fleets. Each truck record holds identification details, license and registration information, insurance data, ELD provider settings, and optional notes, documents, and asset events. To add a truck in Alvys, navigate to Assets > Trucks, click New Truck, fill in the required fields, and click Add Truck. Once saved, the truck is available for dispatch assignment and trip planning. You must have the “EditAsset” permission to add or edit trucks.Before You Start
You must have the “EditAsset” permission assigned to your user account. Without it, the New Truck button does not appear on the Trucks list page. You need to know which subsidiary the truck operates under. Subsidiary is a required field and cannot be left blank. Have the truck number ready. Truck numbers must be unique within your company.Steps
-
Open the Trucks list.
- In the left navigation bar, select Assets.
-
From the Assets menu, click Trucks.
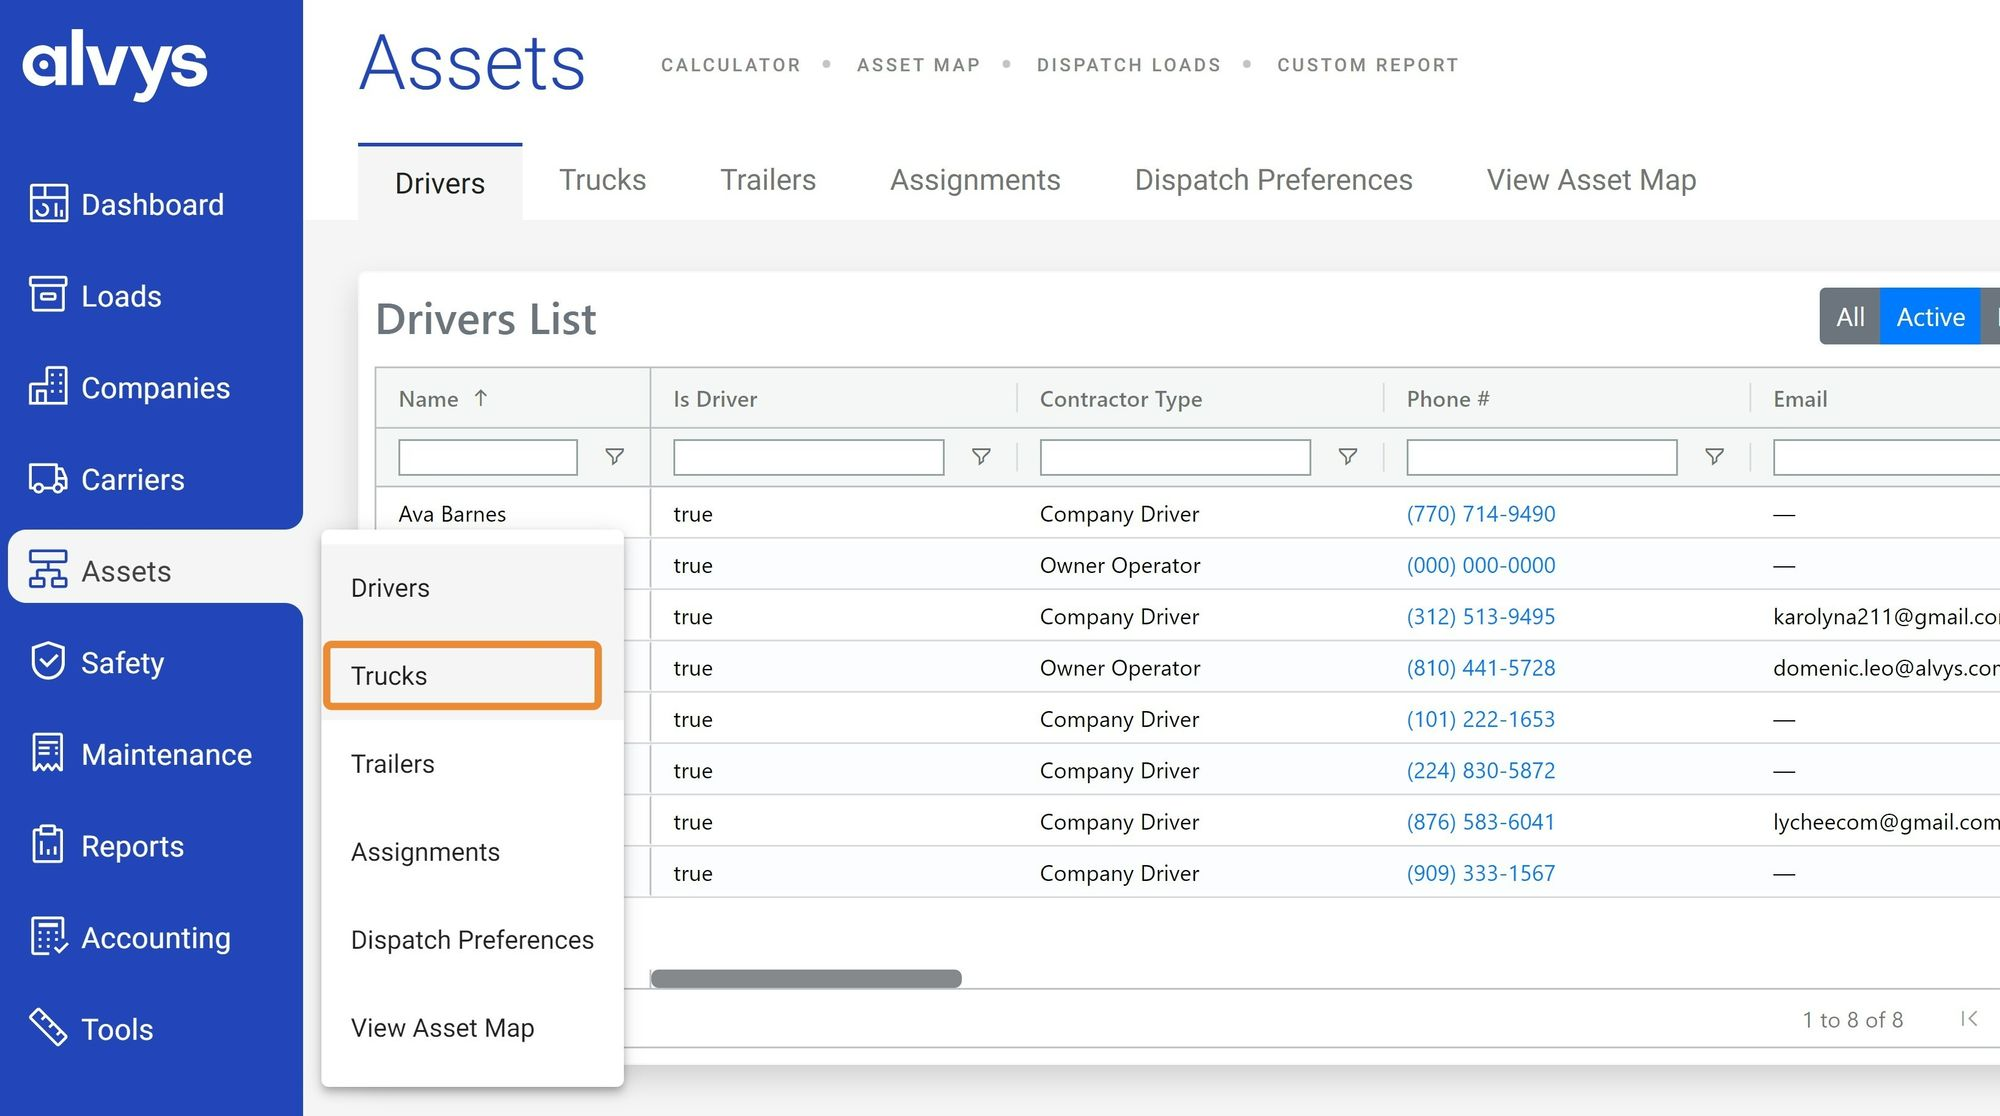 Shows the Assets menu in the left navigation bar with Trucks highlighted beneath Drivers.
Shows the Assets menu in the left navigation bar with Trucks highlighted beneath Drivers.
Shows the Assets menu in the left navigation bar with Trucks highlighted beneath Drivers.
-
Open the new truck form.
-
In the top-right corner of the Trucks list, click New Truck.
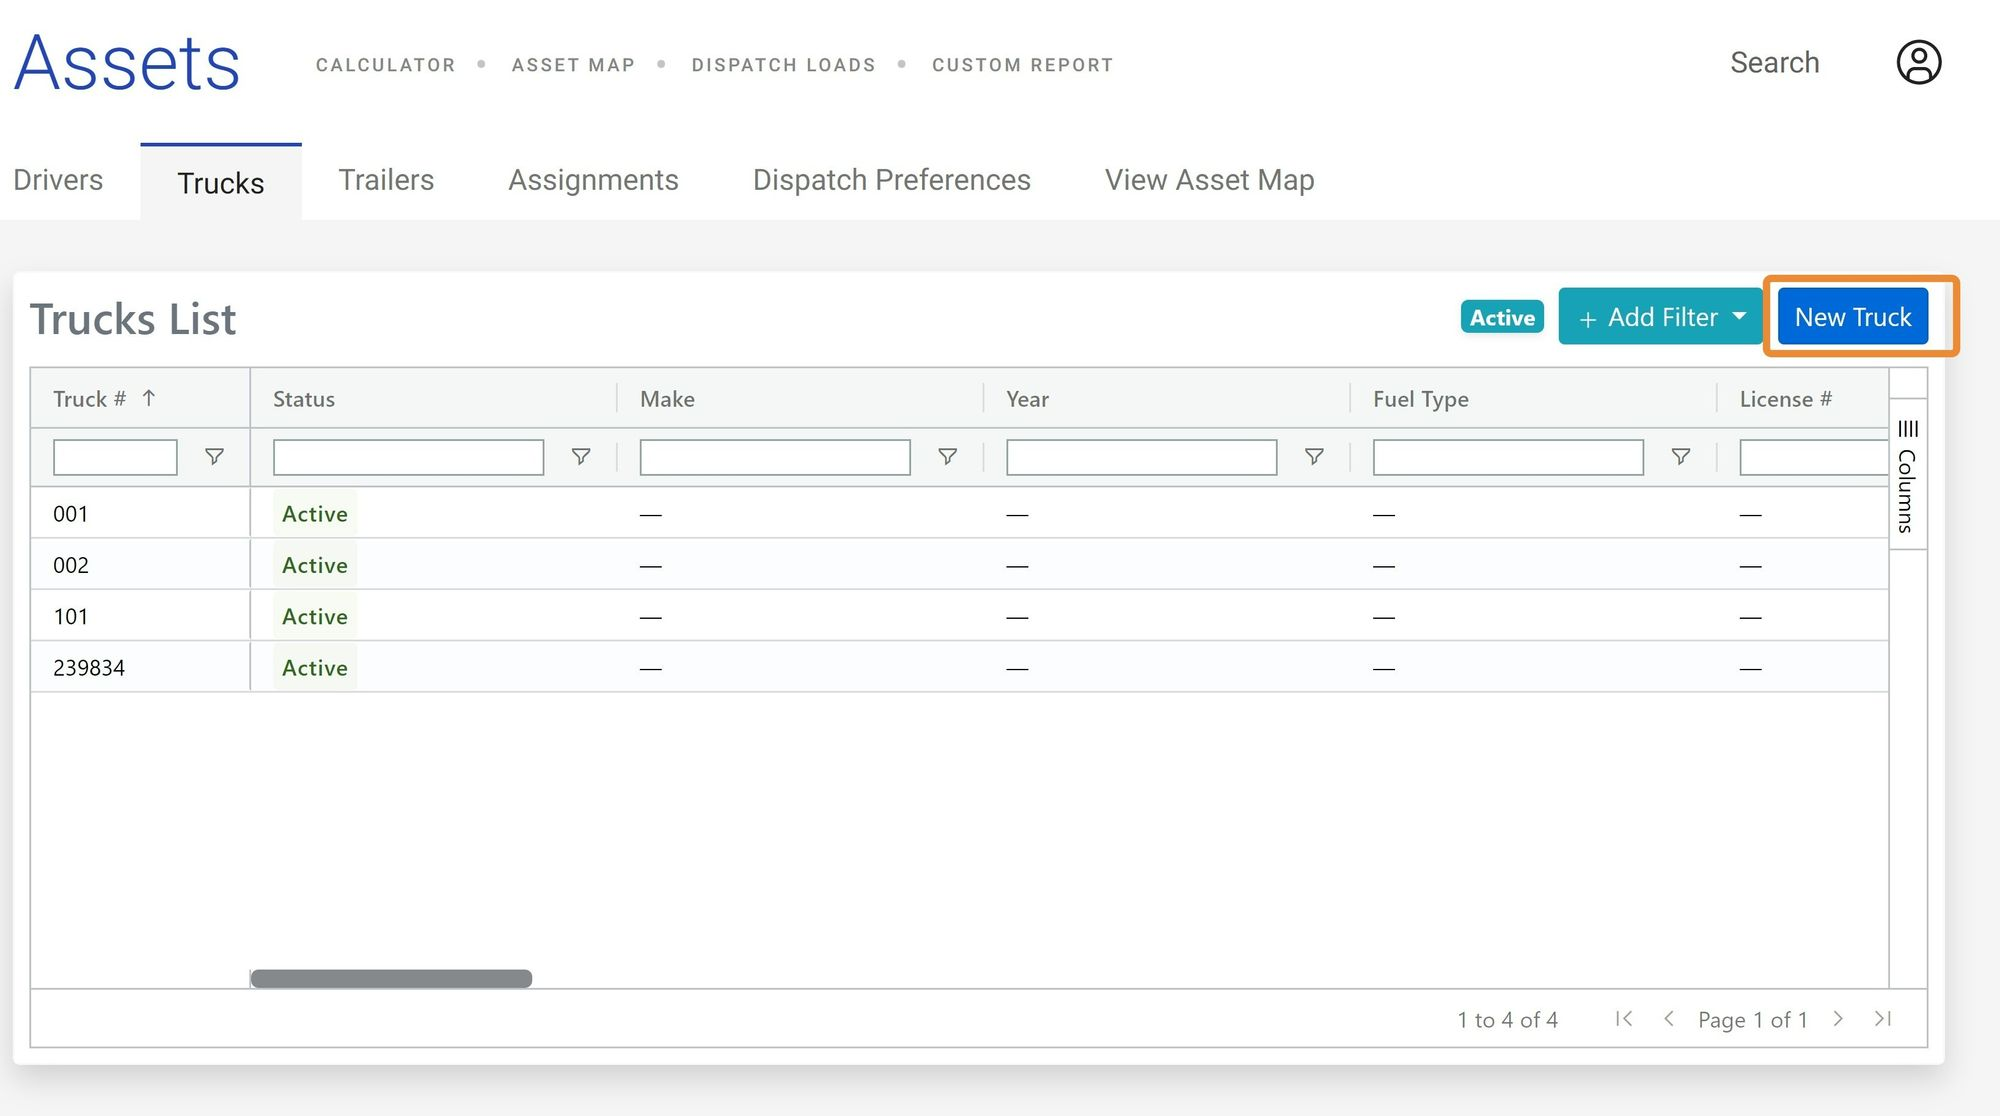 Shows the Trucks list page with the New Truck button highlighted in the top-right corner
Shows the Trucks list page with the New Truck button highlighted in the top-right corner
Shows the Trucks list page with the New Truck button highlighted in the top-right corner
-
In the top-right corner of the Trucks list, click New Truck.
-
Fill in the required fields. The form requires two fields before you can save.
- Truck Number: a unique identifier for this truck within your company.
- Subsidiary: the subsidiary this truck operates under.
-
You can also fill in any of the optional fields at this stage or return to add them later: License details (license number, license state, license country, plate expiration date, and license expiration date); Vehicle details (year, make, model, VIN number, color, number of axles, gross weight, empty weight, fuel type, and MPG); Insurance details (insurance company, policy number, insurance expiration date, and inspection expiration date); ELD settings (ELD provider and provider-specific identifiers for real-time tracking); Additional identifiers (registered name, loss payee, lease details, and custom warnings).
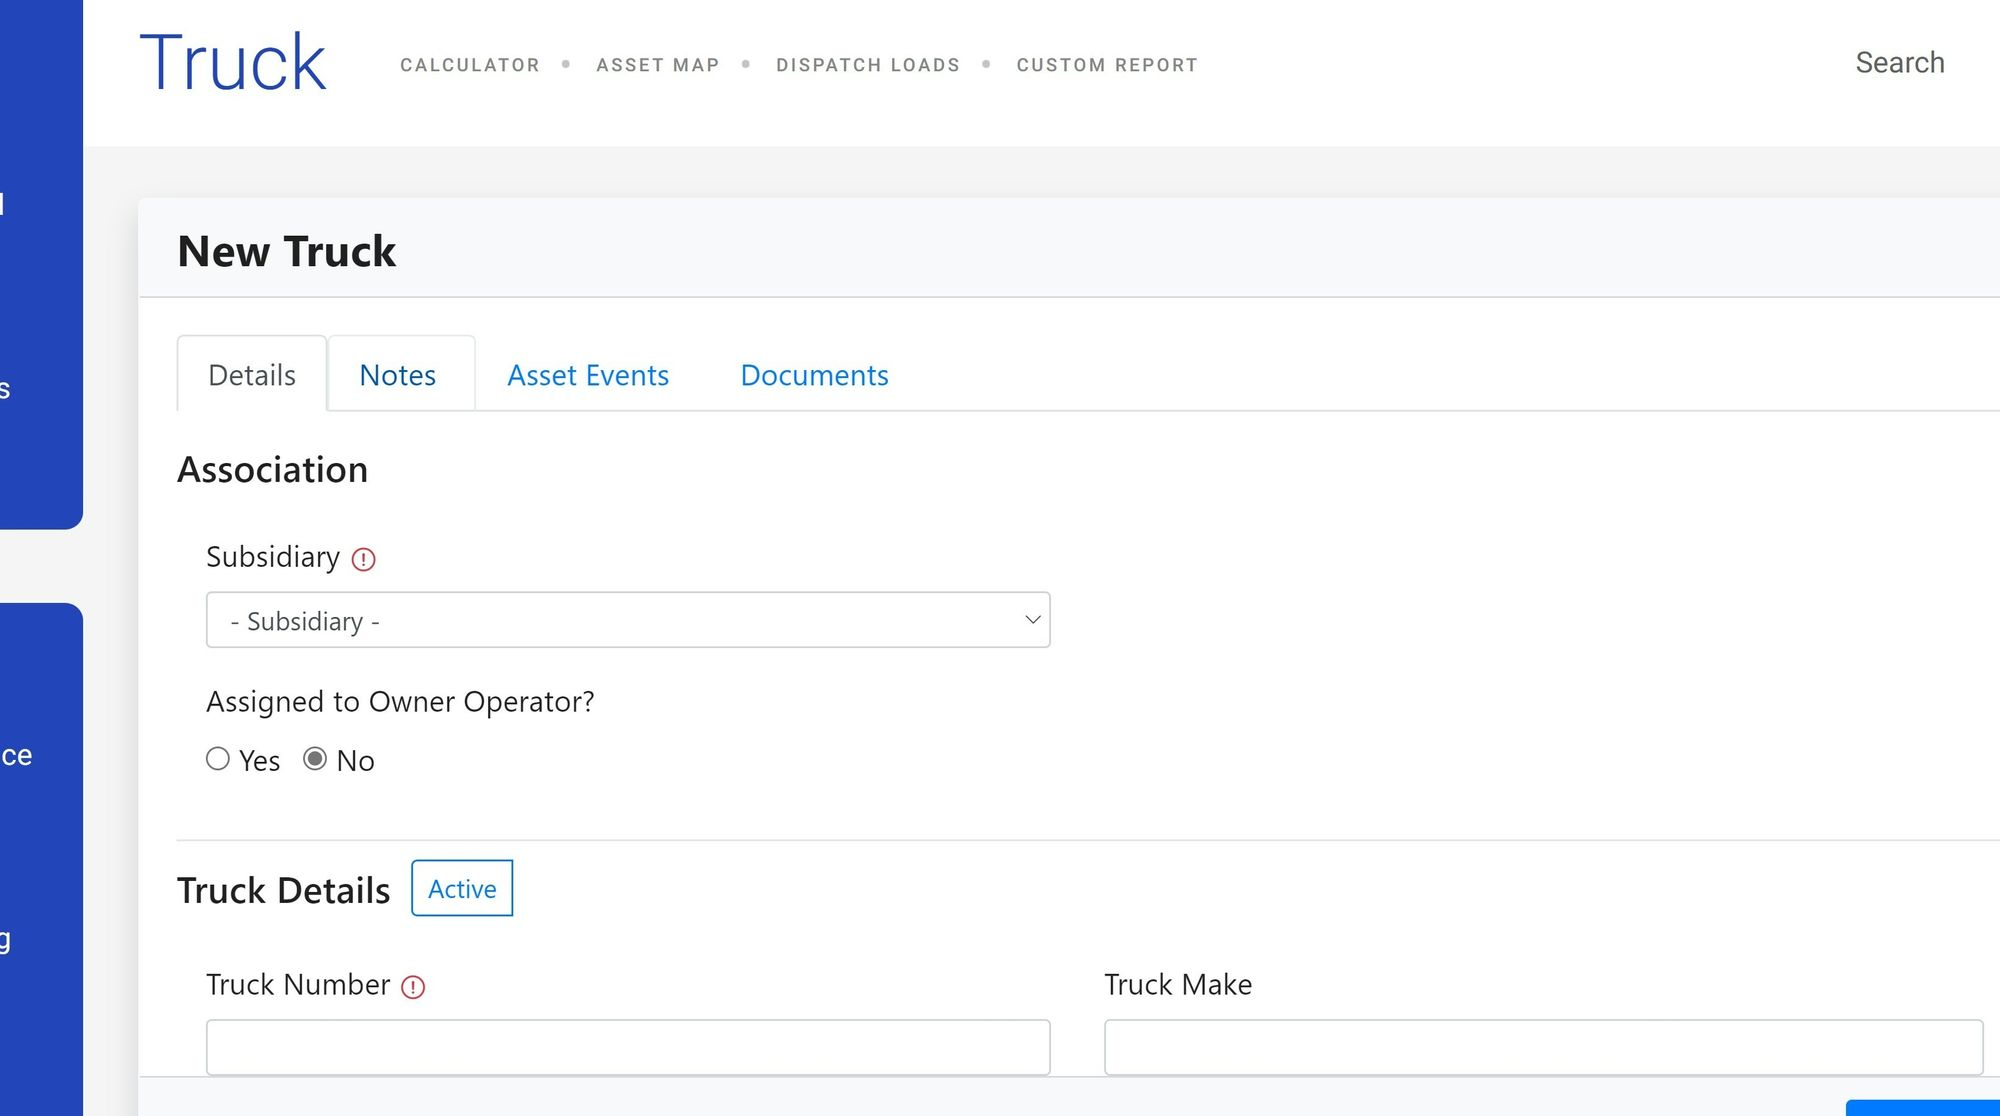 Shows the new truck form with the Truck Number and Subsidiary fields visible, along with the optional fields sections
Shows the new truck form with the Truck Number and Subsidiary fields visible, along with the optional fields sections
Shows the new truck form with the Truck Number and Subsidiary fields visible, along with the optional fields sections
-
Add notes, documents, or asset events (optional). While still on the new truck form, you can attach Notes (free-text notes about this truck), Documents (supporting files such as registration certificates or insurance cards), and Asset events (scheduled or completed events such as maintenance or inspections).
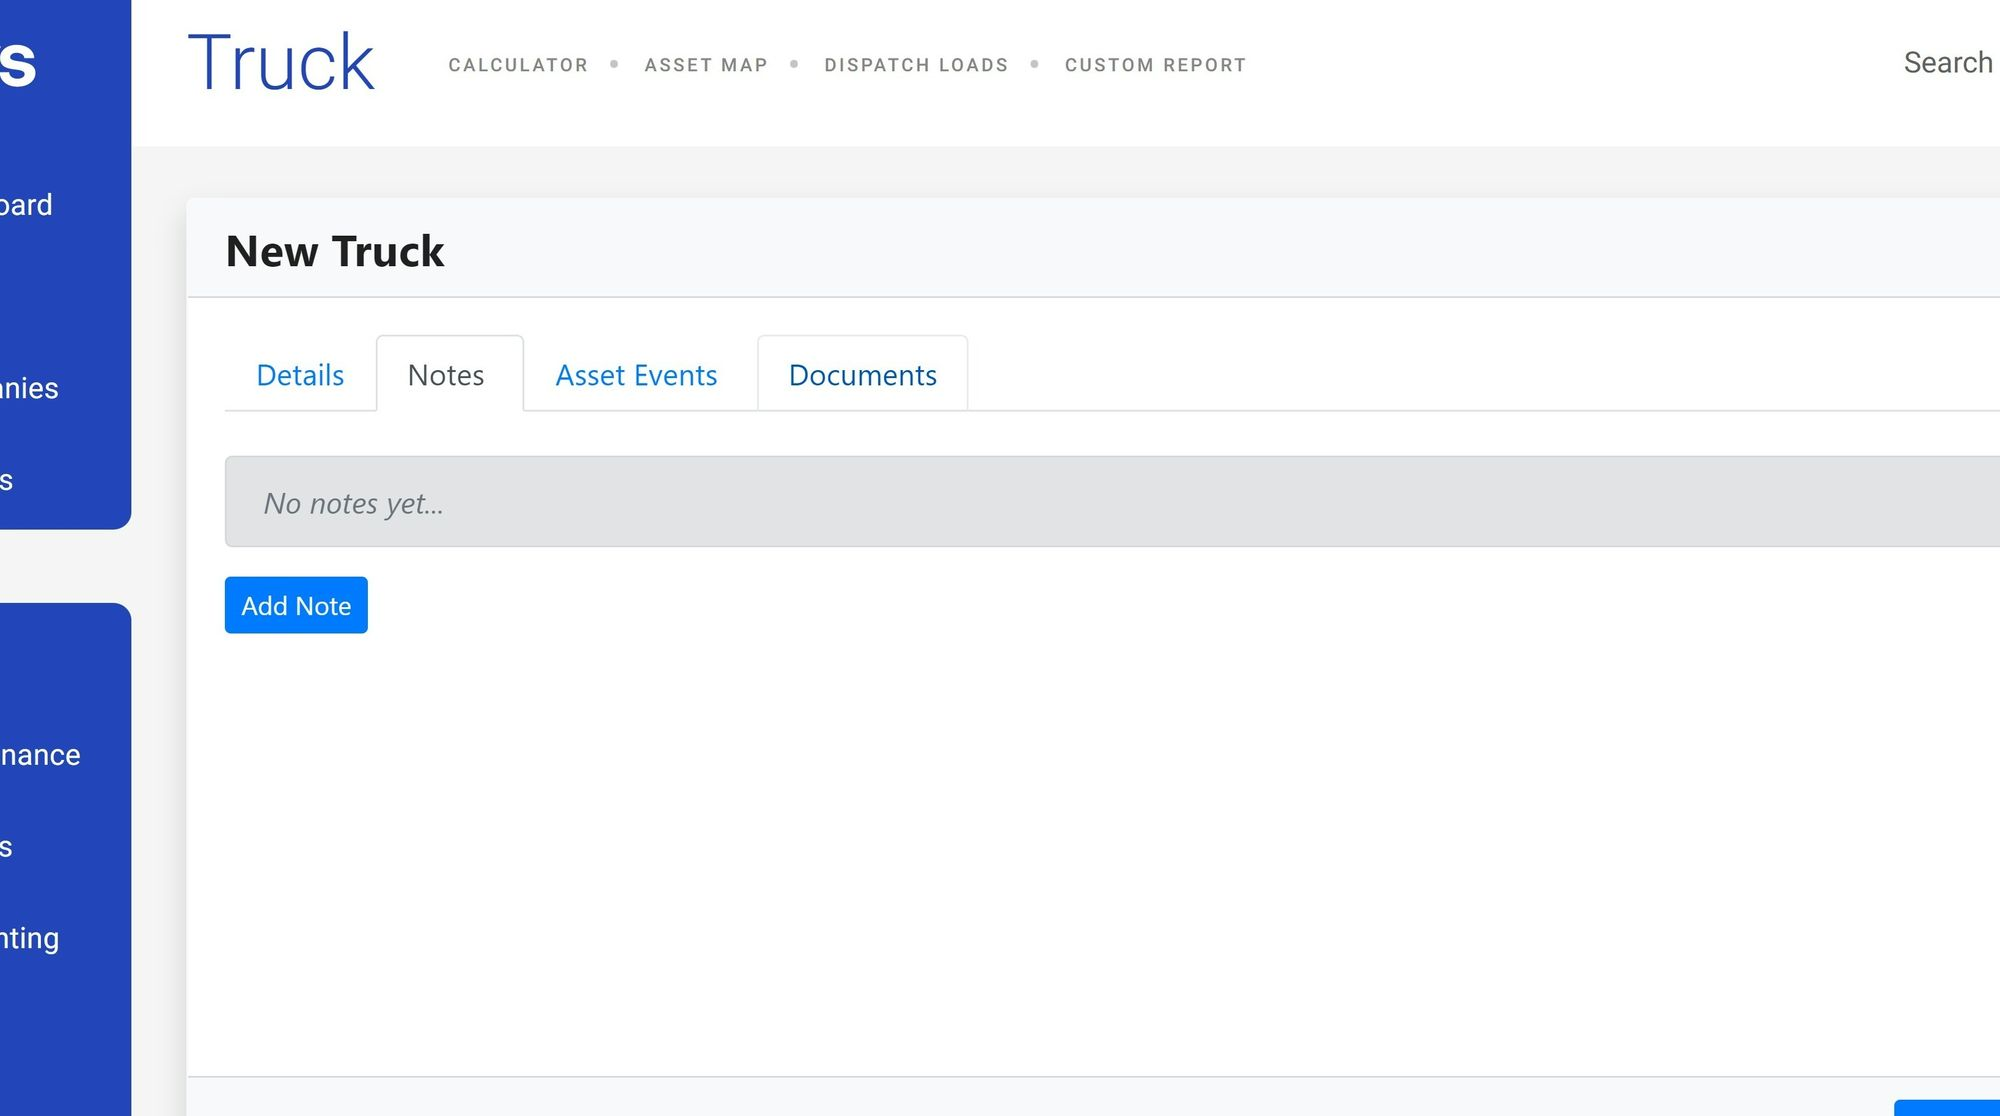 Shows the notes, documents, and asset events tabs at the bottom of the new truck form.
Shows the notes, documents, and asset events tabs at the bottom of the new truck form.
Shows the notes, documents, and asset events tabs at the bottom of the new truck form.
-
Save the truck.
- Click Add Truck to save the record.
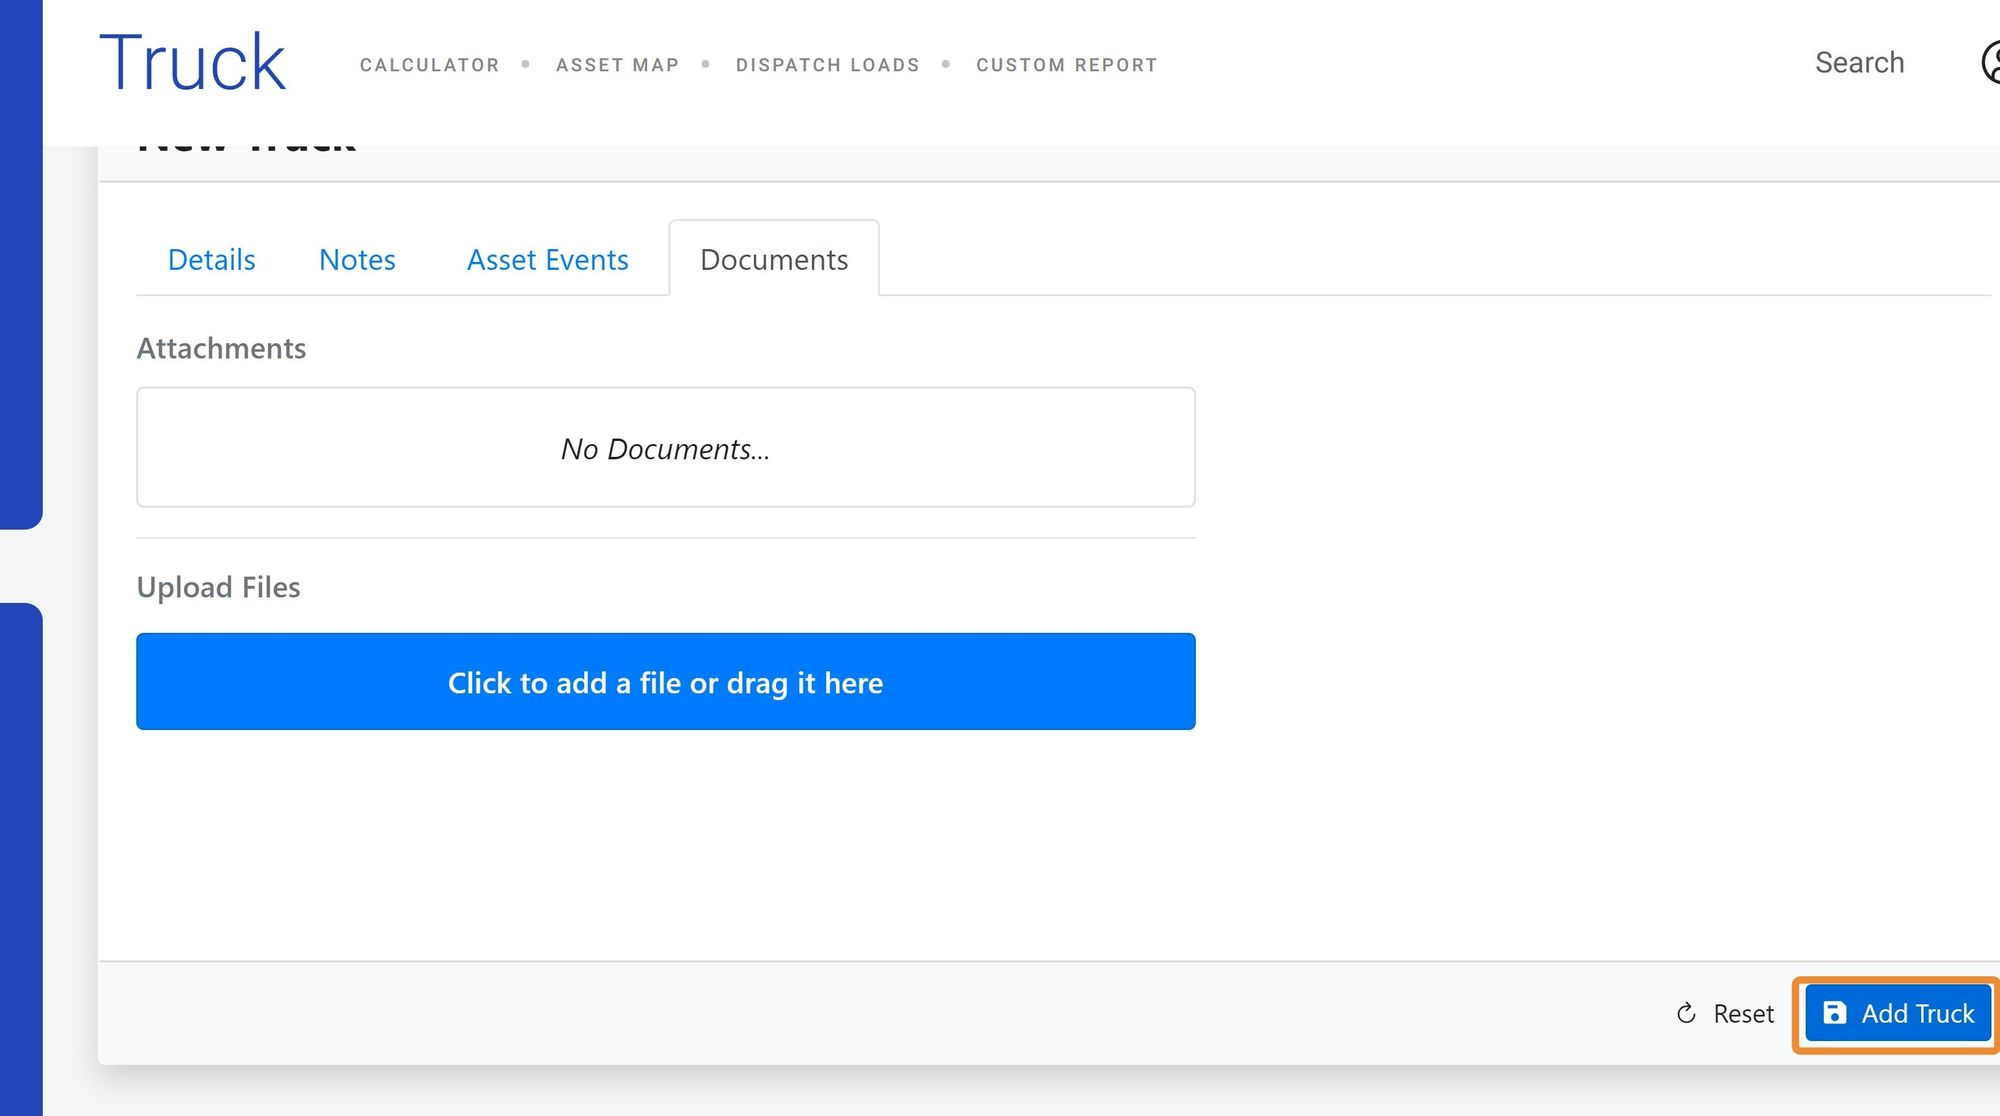 Shows the Add Truck button at the bottom of the new truck form
Result
The truck is created and appears in the Trucks list. It is now available for assignment to drivers, trips, and fleets from anywhere in Alvys that references truck assets.Variations
Bulk import trucks from a file
If you need to add many trucks at once, use the import option instead of creating them one at a time:- On the Trucks list page, click the overflow menu (the three-dot menu icon at the top right).
- Click Import trucks.
- Follow the import dialog to upload your file. The import supports CSV format and validates each row before saving.