
The QuikQ (Love’s) fuel integration connects Love’s Travel Stops fuel card data with Alvys using the QuikQ API; once configured, Love’s fuel transactions are automatically imported into Alvys twice daily at 1 AM and 2 AM Eastern Time. Also known as Love’s fuel integration, QuikQ fuel, Love’s Travel Stops fuel card sync, Love’s Connect.
Overview
The QuikQ (Love’s) fuel integration connects Love’s Travel Stops fuel card data with Alvys using the QuikQ API. Unlike manual fuel imports, this integration is automatic: once configured, Love’s fuel transactions are imported into Alvys twice daily at 1 AM and 2 AM Eastern Time without any file uploads required. Use this integration to track Love’s fuel expenses, apply fuel deductions to driver pay, and maintain accurate fuel records in your Fuel Report. Also known as: Love’s fuel integration, QuikQ fuel, Love’s Travel Stops fuel card sync, Love’s Connect.Prerequisites
Before setting up this integration, complete the following:- You have Admin, Partner Admin, or Office Admin access in Alvys.
- You have a QuikQ account with API access enabled. This must be requested separately before setup (see How to connect below).
- You have your Love’s QuikQ portal credentials (username and password).
- You have your carrier ID from the Love’s portal (used as the Start Code in Alvys).
- Your subsidiaries are already configured in Alvys.
How to connect
First, request API access from QuikQ. Email support@quikq.com and request that API permission be added to your user profile, specifying which user profile needs the permission. Complete this step before attempting to configure the integration in Alvys. You will not be able to authenticate without this permission. Once you have API access from QuikQ, activate the integration in Alvys:-
Click your username in the bottom left corner of Alvys, then select Integrations.
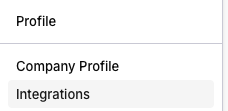 *This image shows the Integrations page in Alvys with the Fuel category *
*This image shows the Integrations page in Alvys with the Fuel category *
*This image shows the Integrations page in Alvys with the Fuel category *
- Select the subsidiary you want to connect.
- Expand the Fuel category.
-
Click the gray pencil icon next to QuikQ/Love’s.
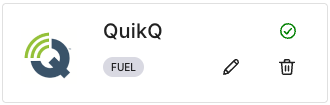 This image shows the Fuel category expanded with the QuikQ/Love’s pencil icon.
This image shows the Fuel category expanded with the QuikQ/Love’s pencil icon.
This image shows the Fuel category expanded with the QuikQ/Love’s pencil icon.
-
Enter your credentials:
- Start Code: Your carrier ID from within the Love’s portal.
- Username: Your Love’s QuikQ portal username.
- Password: Your Love’s QuikQ portal password.
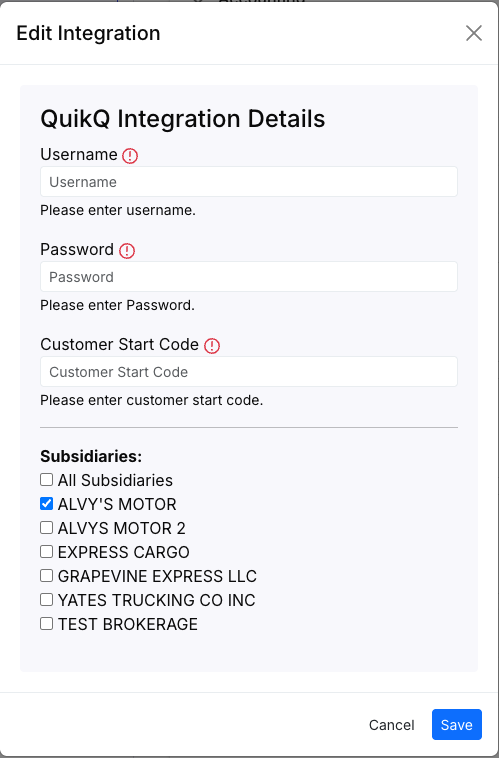 This image shows the QuikQ/Love’s credentials form with fields for Start Code, Username, and Password.
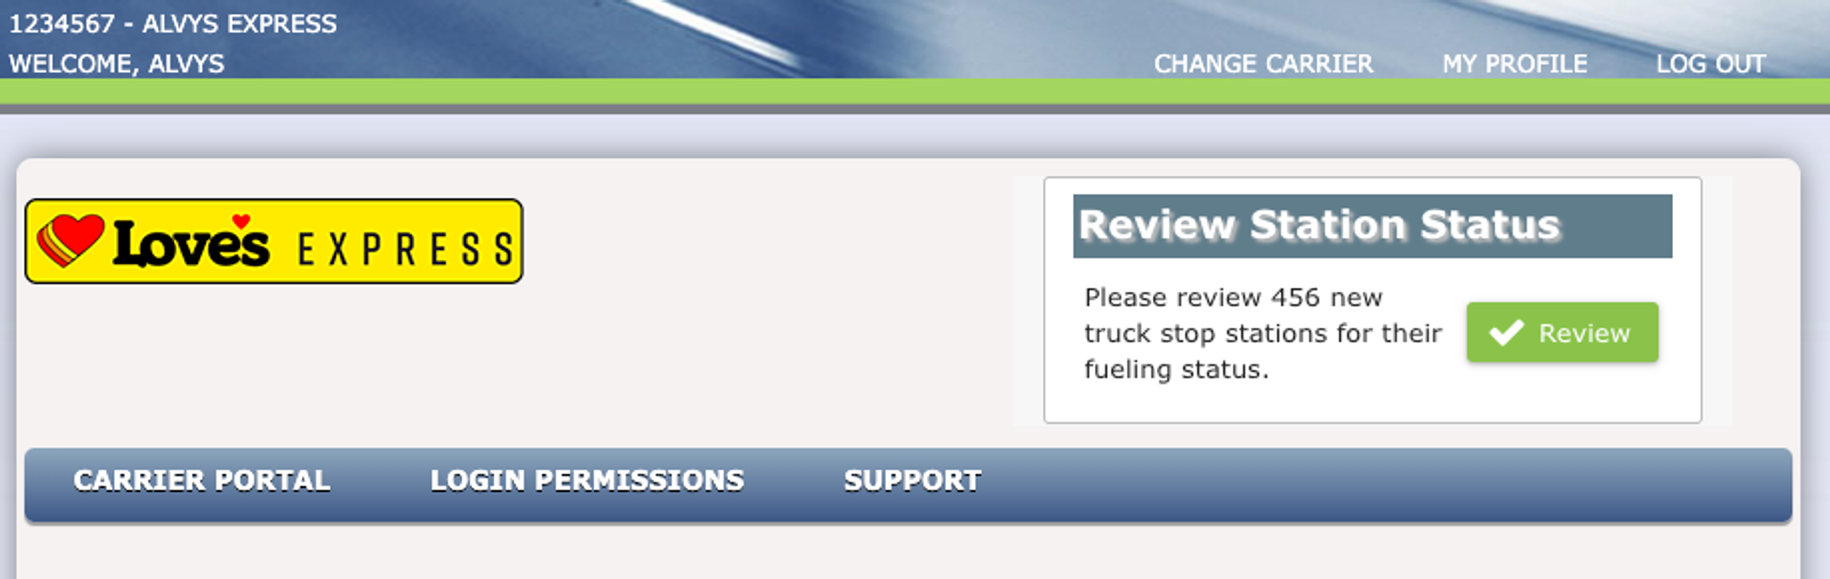 This image shows where to find the carrier ID in the Love’s portal, which is used as the Start Code in Alvys.
- Click Save. Once saved, the integration will begin automatically importing transactions at the next scheduled run (1 AM or 2 AM Eastern Time). Next, add fuel card numbers to driver profiles so transactions can be attributed. Each driver must have the last 6 digits of their Love’s fuel card number saved on their profile:
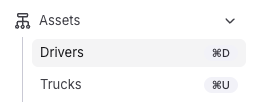
- From the Alvys toolbar, go to Assets and select Drivers.
- Find and double-click a driver to open their profile.
-
In the first section, click the plus sign next to Fuel Card Numbers.
- Enter the last six (6) digits of the driver’s Love’s fuel card number.
- Select Love’s Fuel as the provider.
- Set the deduct fuel and discounted fuel checkboxes if applicable.
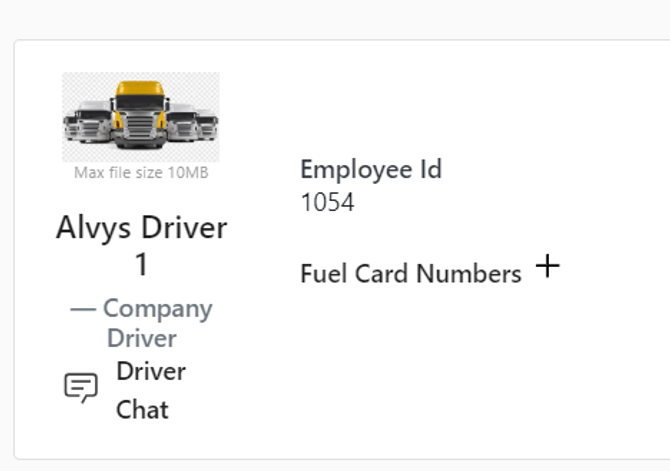 This image shows the Fuel Card Numbers section of a driver profile with the plus sign to add a new card.
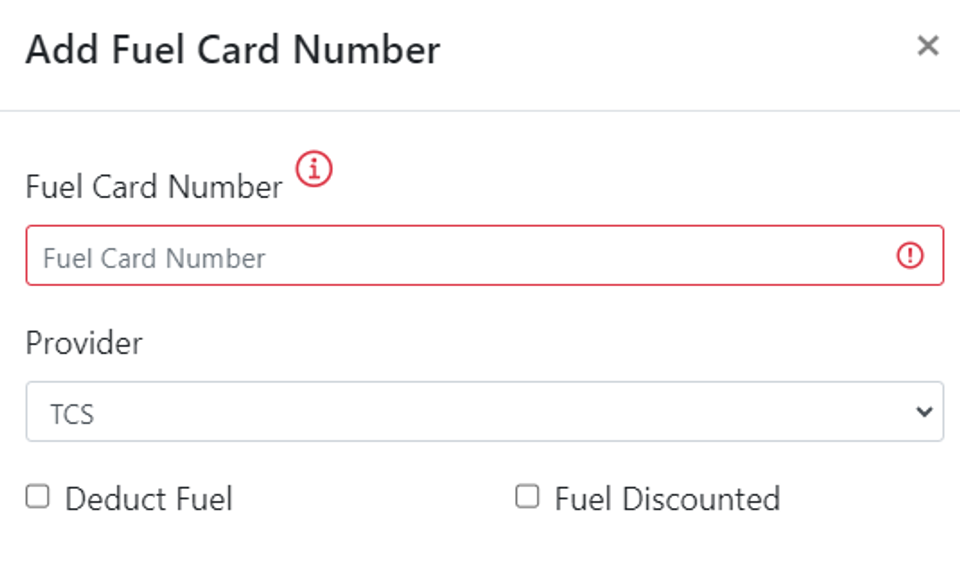 This image shows the fuel card entry popup
- Click the blue Save button.
What syncs
After each automatic import, Alvys maps QuikQ transaction data as follows:- The last 6 digits of the fuel card number on the QuikQ transaction are matched against the last 6 digits stored in each driver’s profile. Transactions are attributed to the driver whose card number matches.
- Transaction date, amount, and gallons are imported into the Fuel Report.
- If the card number on a transaction does not match any driver profile, the transaction will not be attributed to a driver. Add or correct the card number on the driver profile; it will be matched on the next automatic import.
Troubleshooting
Fuel transactions not appearing after integration setup
- Confirm the integration was saved successfully in Management > Integrations > Fuel > QuikQ/Love’s.
- Confirm your QuikQ account has API permission enabled. Contact QuikQ support at support@quikq.com to confirm.
- Wait until after the next scheduled import window (1 AM or 2 AM Eastern Time) and check the Fuel Report again.
- If transactions are still not appearing, contact Alvys support.
Driver transactions not attributed correctly
- Open the driver profile in Assets > Drivers and confirm a Love’s fuel card number is saved with exactly 6 digits.
- Confirm the provider is set to Love’s Fuel.
- Correct the card number if needed. The next automatic import will match transactions using the updated number.
Integration credentials rejected
- Confirm the Start Code is your carrier ID from the Love’s portal.
- Confirm the Username and Password are your Love’s QuikQ portal credentials.
- Confirm API permission is enabled on your QuikQ user profile.
- Contact Alvys support if credentials are still rejected after confirming all three items above.