
Creating a driver (adding a driver, setting up a driver record) in Alvys sets up the driver record used for trip assignment, pay calculations, compliance tracking, and integrations. This article walks through the full driver creation process step by step.
Overview
A driver record in Alvys stores the driver’s personal information, license details, employment type, fleet assignment, pay configuration, and integration settings. Once created, the driver can be assigned to trips, tracked for compliance, and included in settlements. Driver records can be created manually from the Drivers list or imported in bulk. This article covers manual creation.Prerequisites
You need the “EditAsset” permission to create a new driver. The New Driver button in the Drivers list is visible and active only for users with this permission. Prepare the following information before starting:- Driver’s full legal name and contact details.
- Driver’s CDL number, license class, and state of issue.
- Employment type (Company Driver or Owner Operator).
- Fleet assignment (if applicable).
Steps
- Open the Drivers list. Navigate to Assets > Drivers. The Drivers list shows all existing drivers in your workspace.
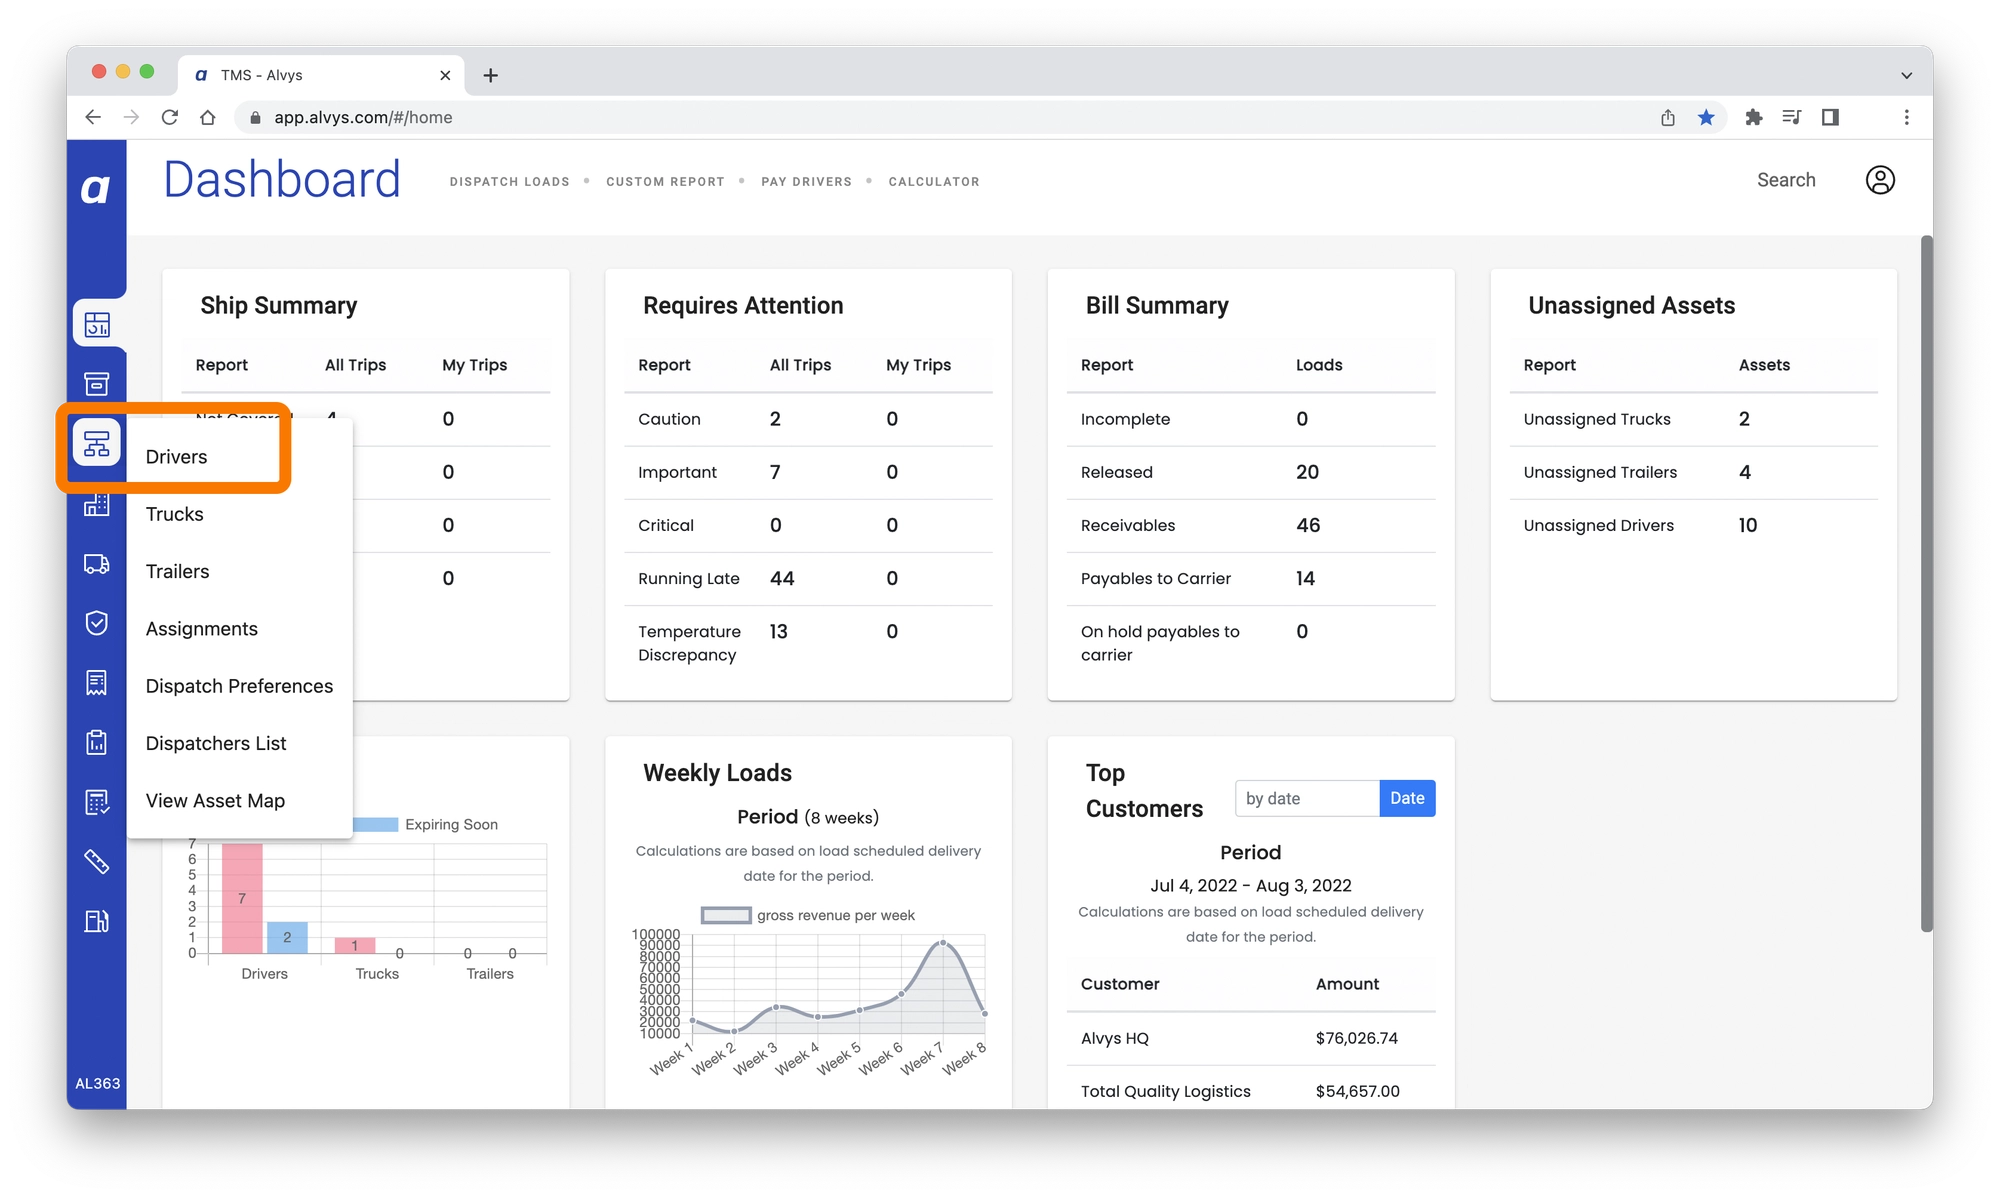 Drivers list page showing existing drivers with the New Driver button visible in the top-right area.
- Click New Driver. In the top-right area of the Drivers list, click New Driver to open the driver creation form. The New Driver button is only visible to users with the “EditAsset” permission. If the button is not visible, contact your Alvys Admin to confirm your permissions.
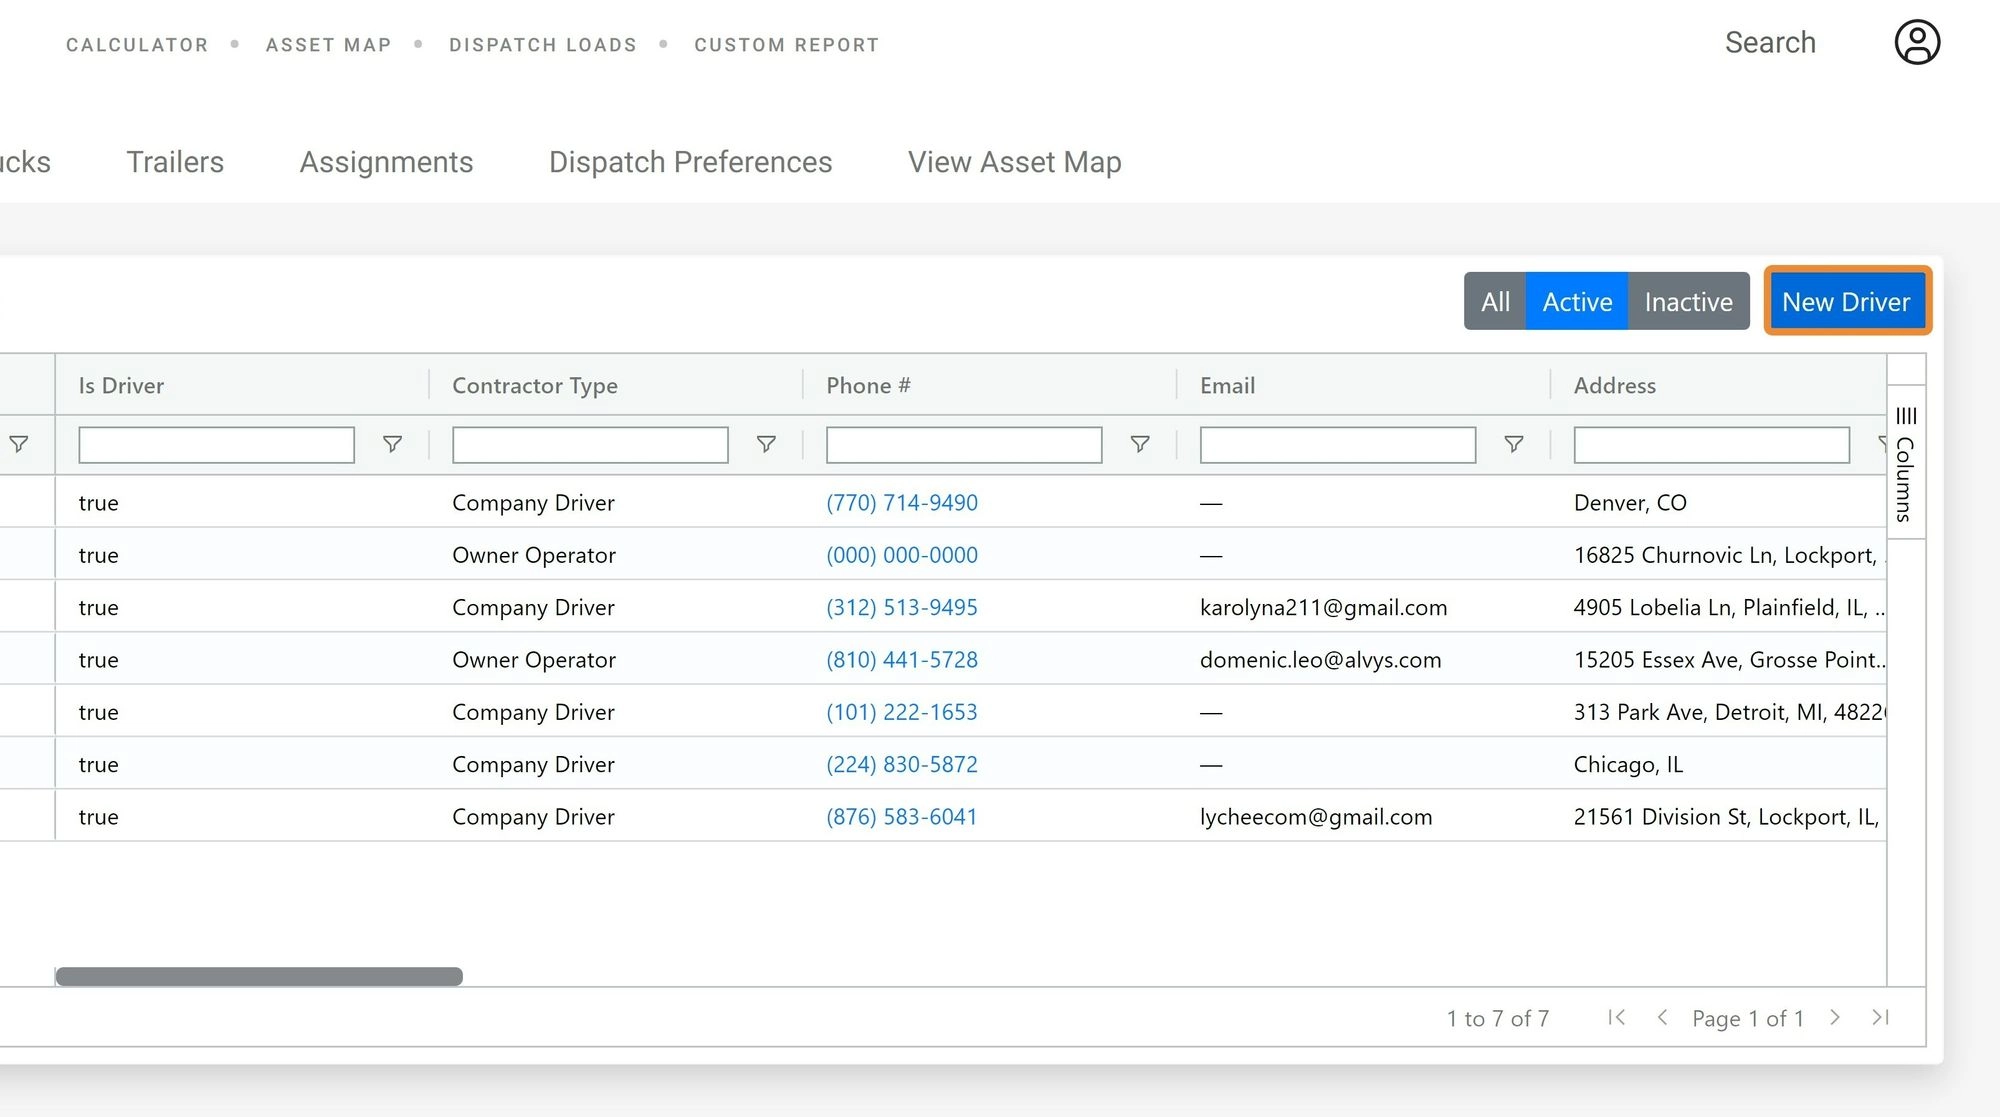 *Drivers Page showing drivers table and “New Driver” button *
- Enter driver information. Fill in the required fields on the driver creation form. Required fields include the driver’s first name, last name, and employment type (Company Driver or Owner Operator).
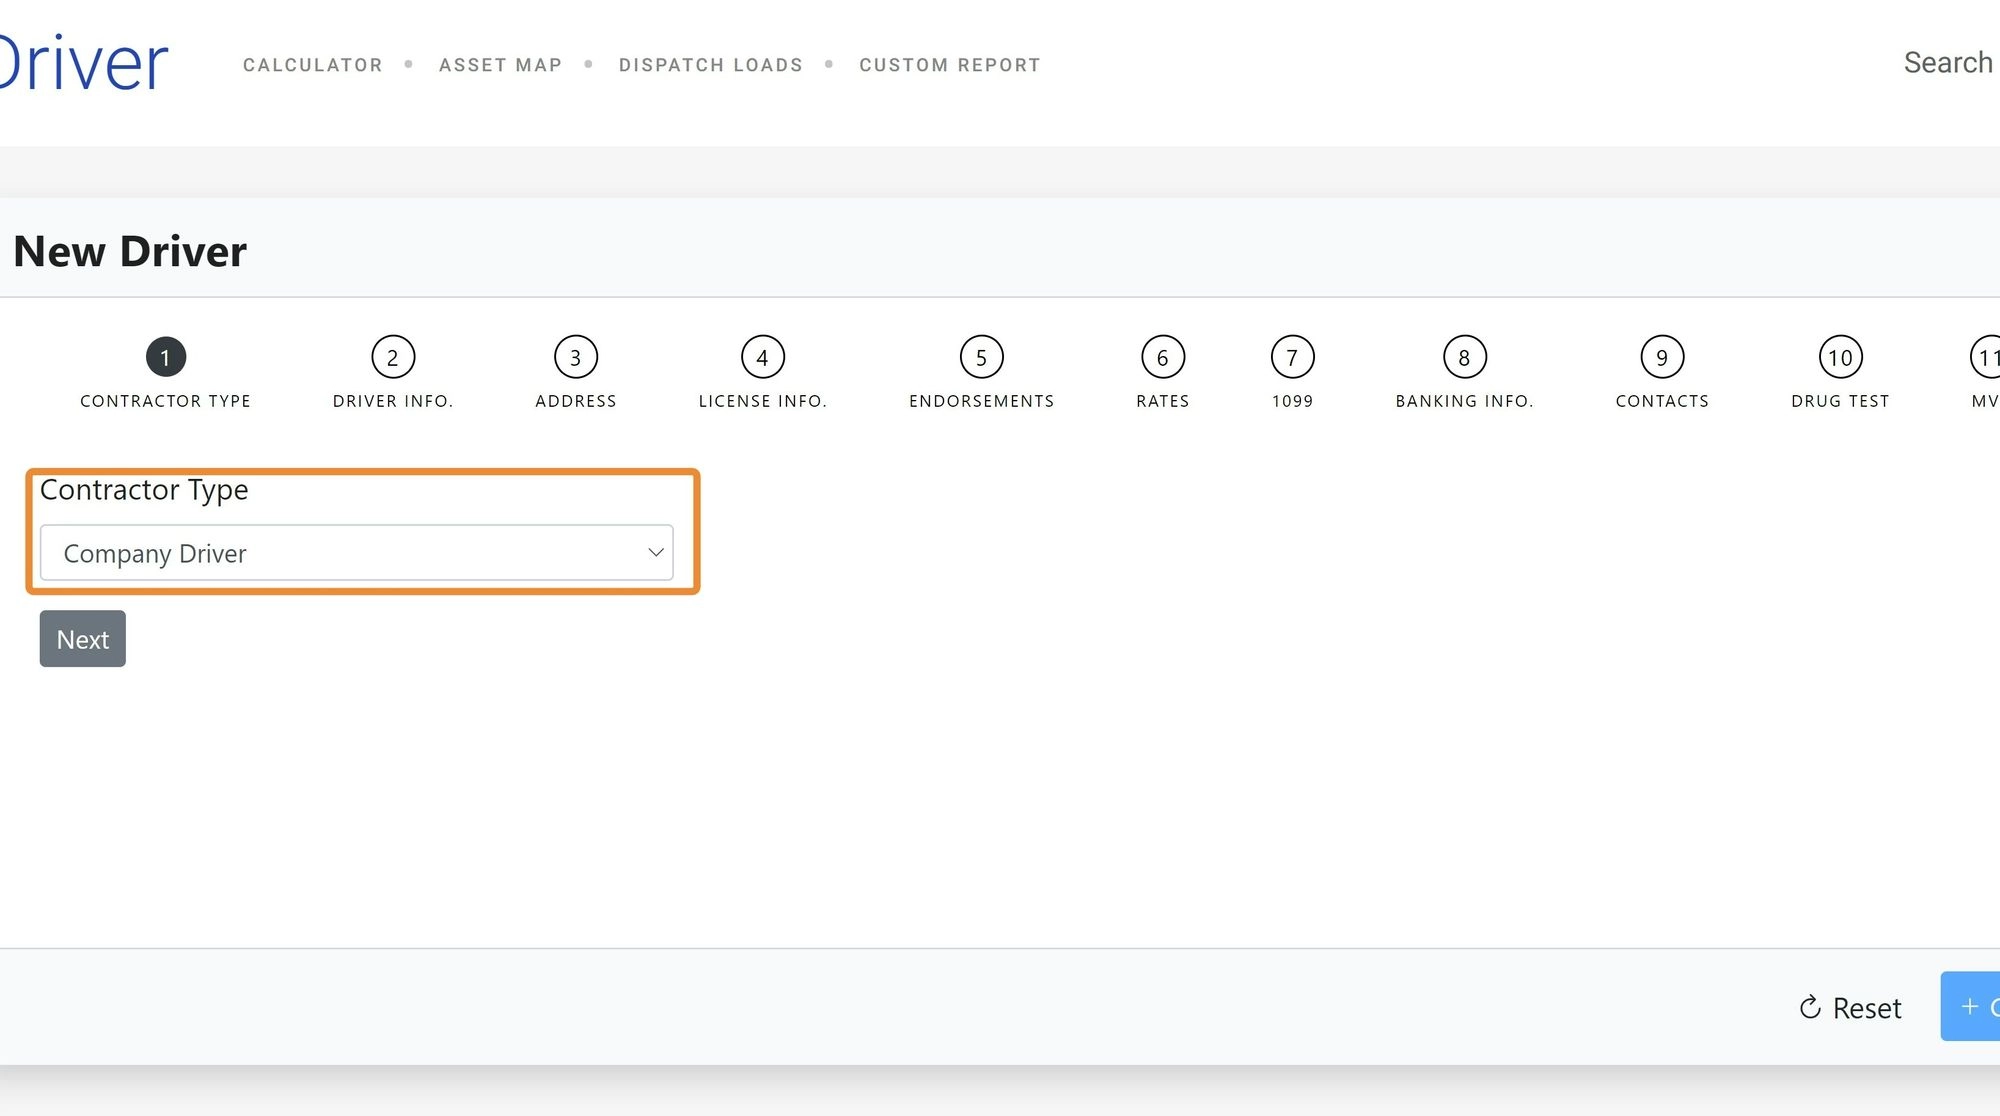 *Driver creation form showing the required fields for name, employment type, and contact details. *
- Employment type: Company Driver, Owner Operator or Contractor.
- Driver Personal information: First name, last name, phone number, email address, etc
- Fleet: Assign the driver to a fleet if your company uses fleet segmentation.
- Driver Physical Address
- License information: CDL number, license class, state of issue, expiration date.
- Tax Information
- Hire date: The date the driver started. Used for Driver Rate Plan tenure calculations.
- Save the driver record. Click the “Create” button to create the driver record. The driver now appears in the Drivers list and is available for trip assignment.
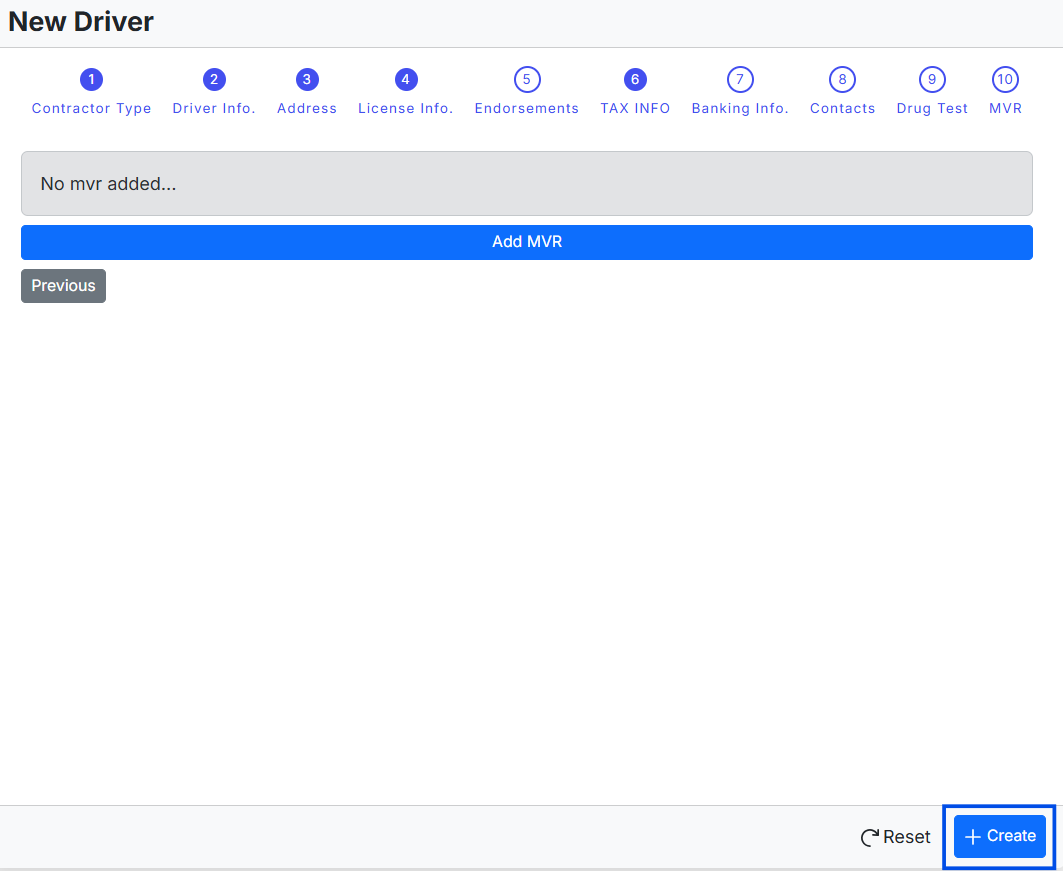 Image displaying the New Driver form with the “Create” button
- Assign the driver to trips from the Loads and Trips module.
- View the driver in the Drivers list with their employment type and fleet assignment.
- Add rate policies to the driver’s profile under Rates.
- Track the driver’s compliance documents under Documents.
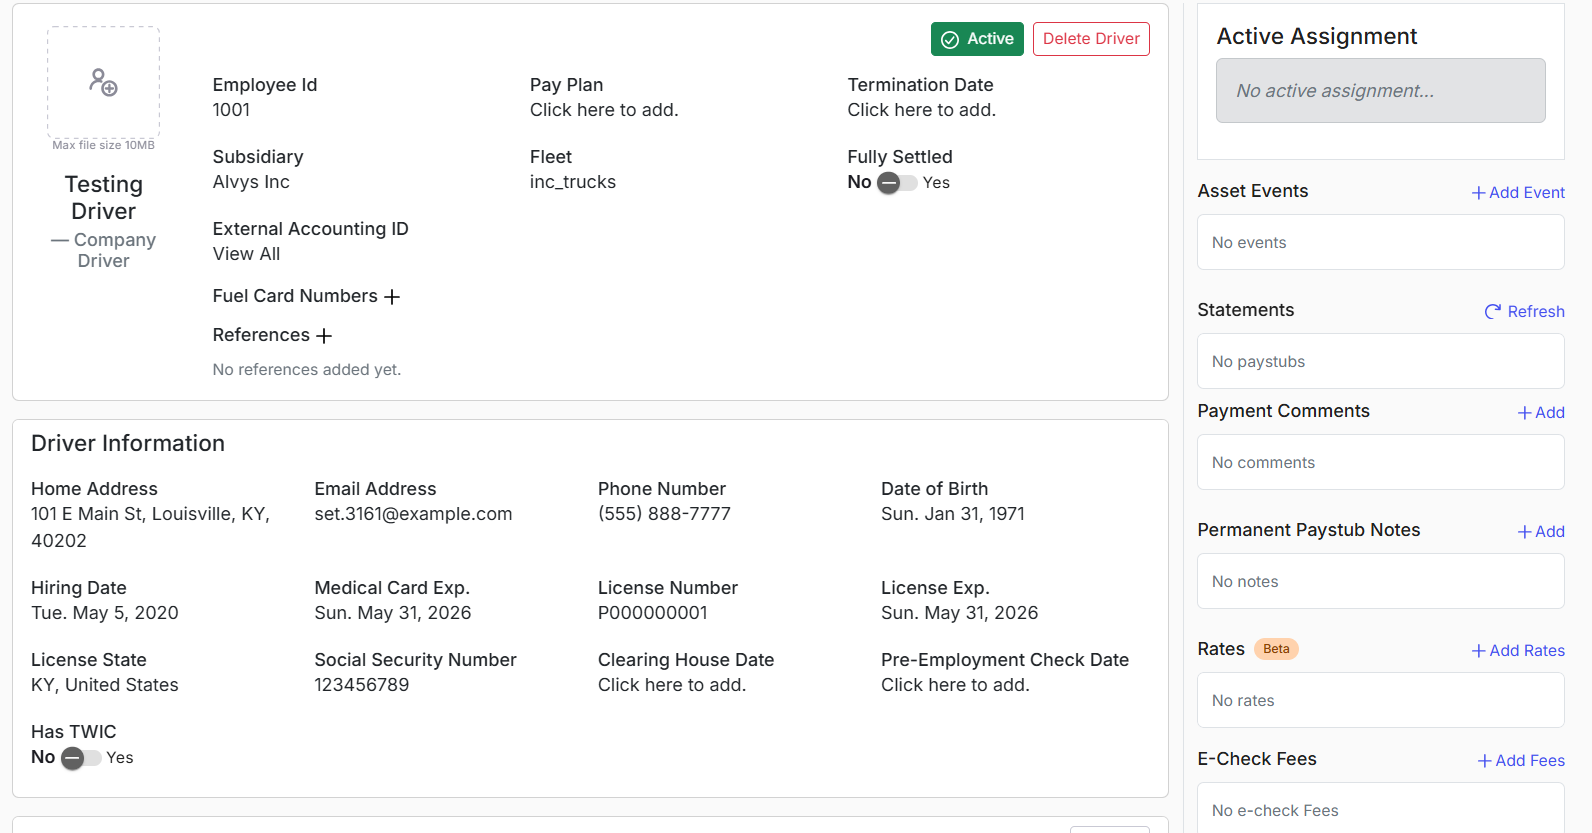 *Saved driver profile showing the completed driver record with fields populated. *