
Map your QuickBooks Desktop (QBD) Chart of Accounts to Alvys revenue and expense categories (a two-way integration in which Alvys exports invoices and bills to QBD) so that every invoice and bill posts to the correct account without errors.
Overview
Account mapping connects each Alvys transaction type to a specific account in your QuickBooks Desktop (QBD) Chart of Accounts. When Alvys exports an invoice or bill to QBD, it looks up the mapped account for each line item and posts the amount there. Without complete mappings, the Web Connector will fail to sync the transaction. The integration uses two tiers: default accounts (required, act as fallback for any unmapped transaction) and specific accounts (optional, allow granular control per transaction category). You configure both during the integration setup wizard. Important: This article covers Step 3 of the QuickBooks Desktop integration setup. Complete Steps 1 and 2 before starting here.Before You Start
Required role: “Admin”, “Partner Admin”, or “Support” (requires the “CompanyProfileManager” permission) Prerequisites:- The QuickBooks Desktop integration must already be connected and the Web Connector active.
- Your QBD Chart of Accounts must be set up in QuickBooks before mapping accounts in Alvys. Alvys pulls the account list directly from QBD.
- You must know which transaction types you selected during configuration (Revenue, Expense, or both).
Steps
- Open the account mappings screen.
- Go to Management > Integrations.
- Open the QuickBooks Desktop integration setup wizard.
- Navigate to the Account Mappings step (Step 3 of the wizard).
- Map default accounts. Default accounts are required and act as the primary fallback for any unmapped transaction line items.
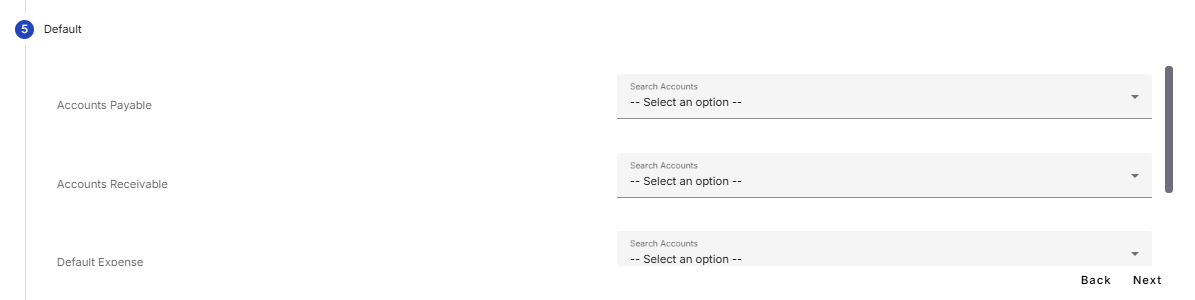 *Default account mapping fields screen. *
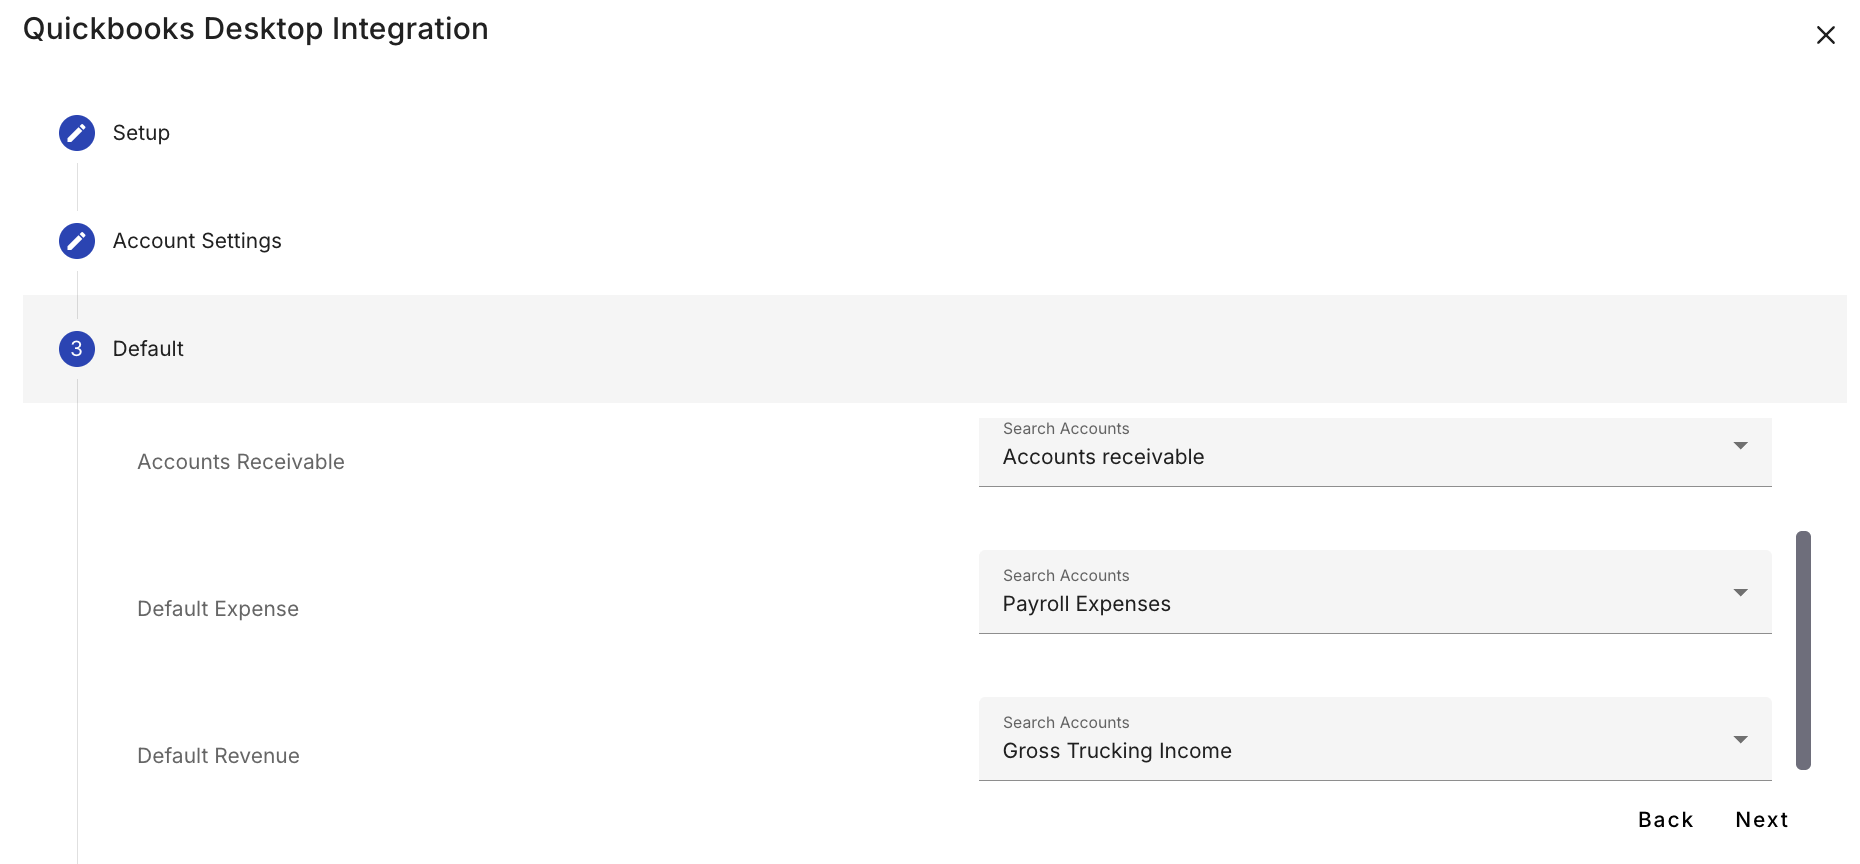 Revenue default account mapping fields filled in.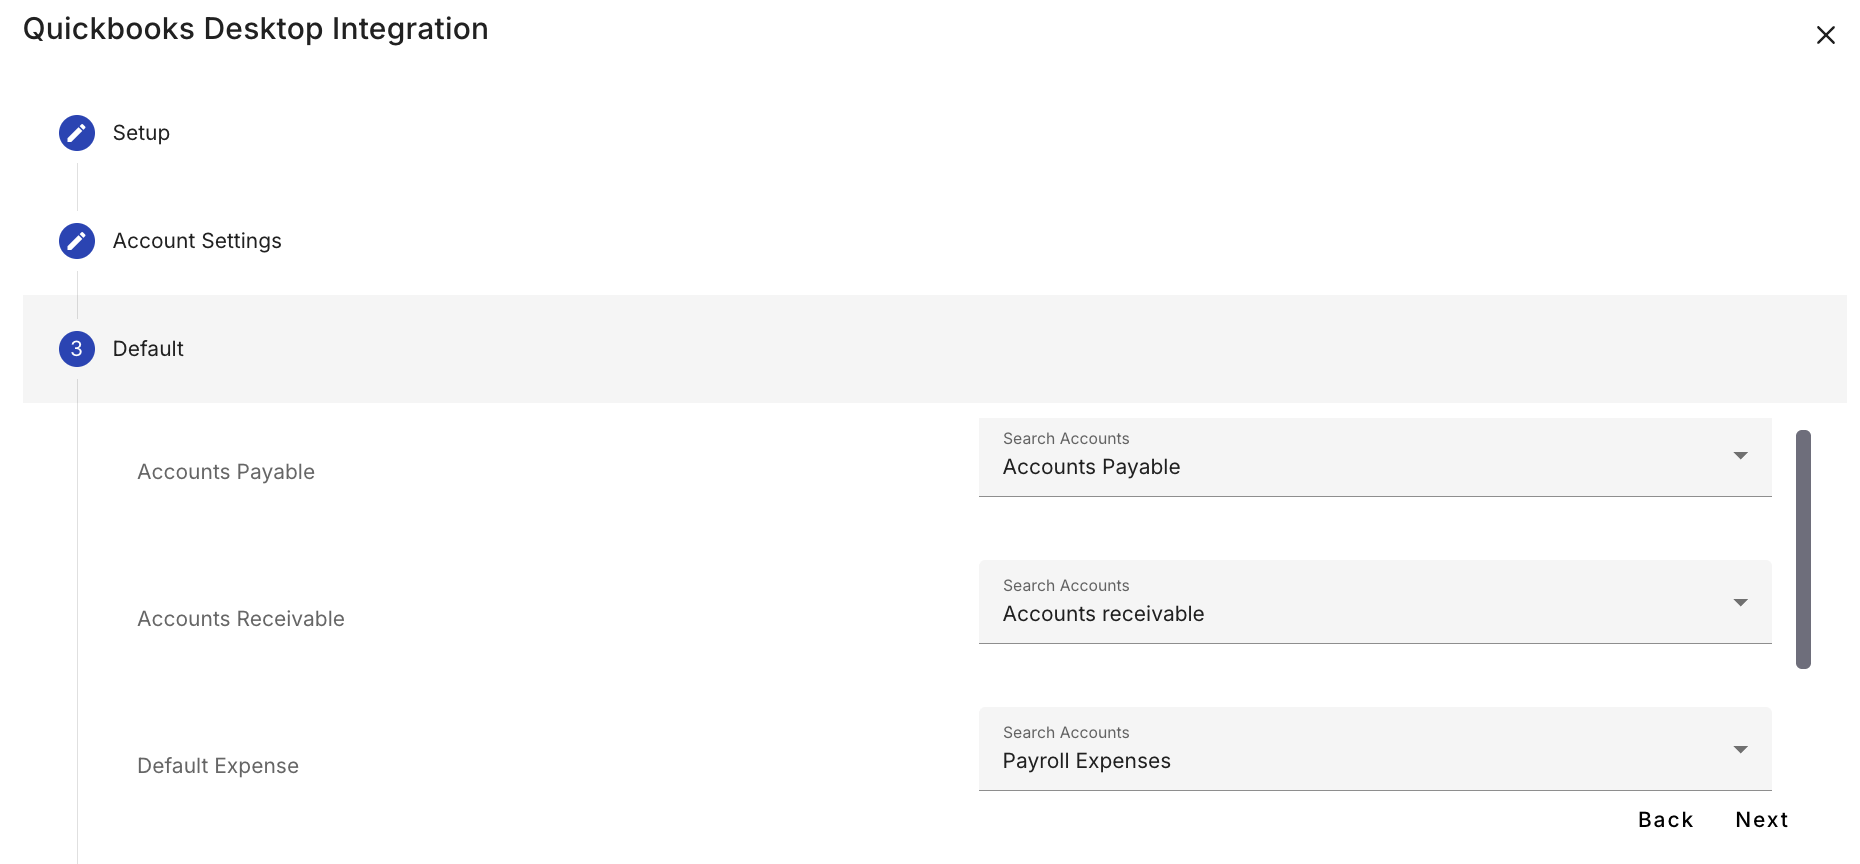
- Expense default account mapping fields filled in.*
- Map Load accounts (revenue). The Load category represents revenue transaction line items on customer invoices.
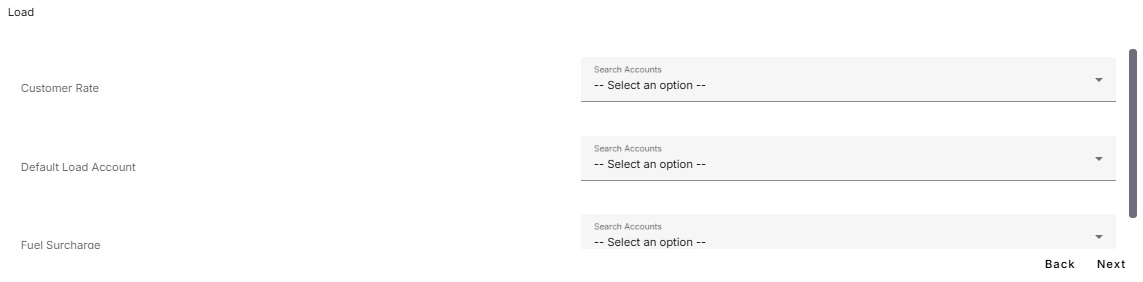 Load account mapping screen.
- Map Trip accounts (expense). The Trip category represents expense transaction line items on bills.
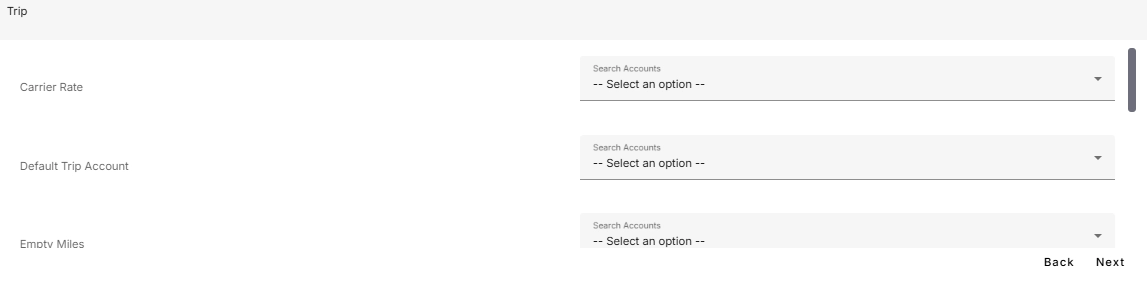 Trip account mapping screen.
- Map Accessorial accounts (revenue and expense). Accessorials represent additional charges or fees affecting both customers (revenue) and drivers or carriers (expense).
 *Accessorials mapping screen showing Revenue and Expense columns per type. *
 Accessorials Default Accessorial Account option.
- Map E-Check accounts (revenue and expense). An e-check is an electronic check issued to pay a driver or external carrier. E-check fees are treated as revenue because they reimburse the company.
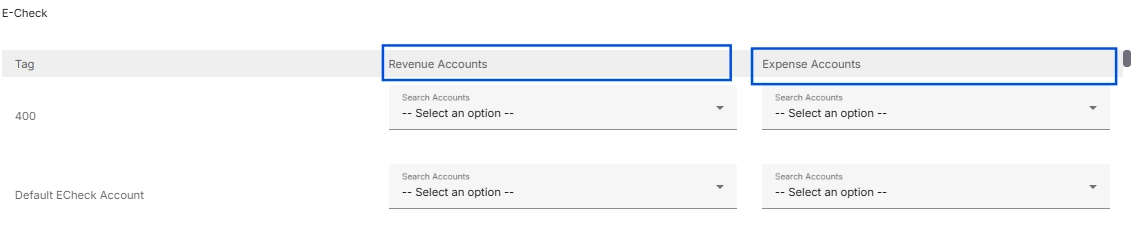 *E-Check mapping screen. *
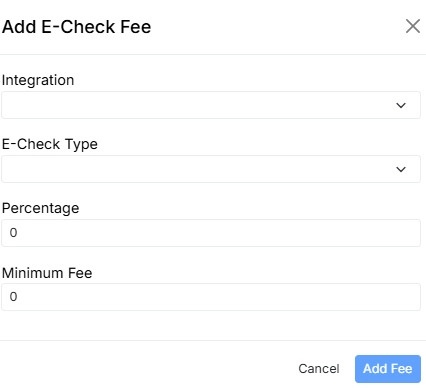 E-Check fee configuration in company profile.
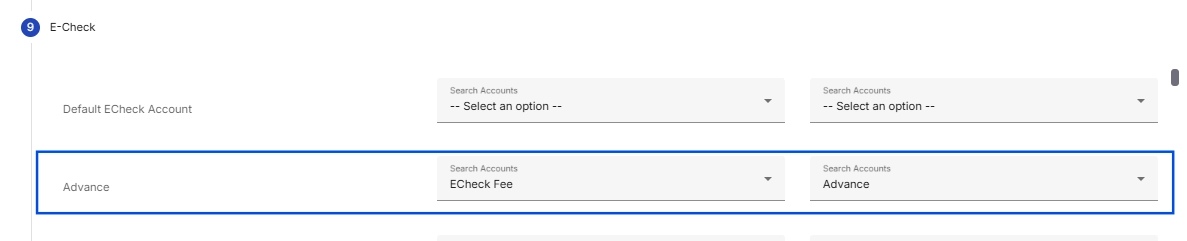 E-check mapping example
-
Map Deduction accounts. Map each predefined deduction type to a dedicated account, or map all to the Default Deduction Account.
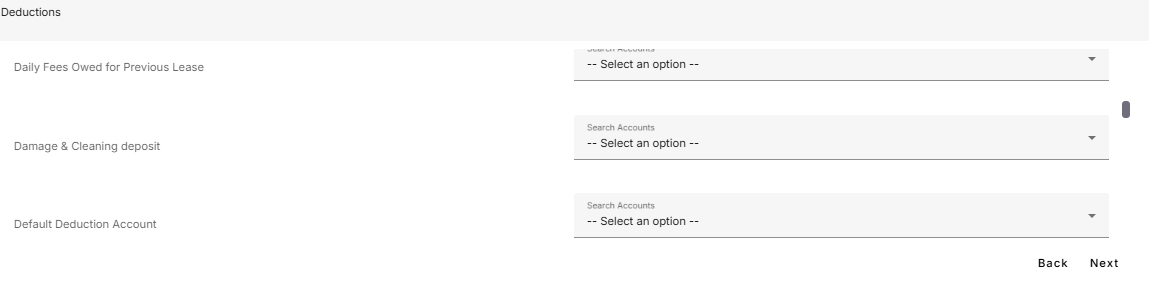 Deductions mapping screen showing deduction types.
Deductions mapping screen showing deduction types.
Deductions mapping screen showing deduction types.
-
Map Fuel accounts. The fallback order for fuel transactions: specific fuel type account → Default Fuel Account → Default Expense Account.
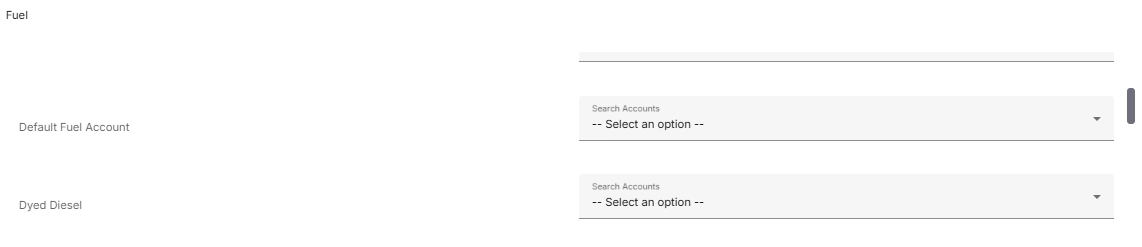 Fuel category mapping screen with fuel types.
Fuel category mapping screen with fuel types.
Fuel category mapping screen with fuel types.
- Map Toll accounts. Only a single default account is provided for toll mapping.
 *Tolls mapping screen with single default account field. *
 Deprecated Tax category screen.
- Map Escrow accounts. Escrow accounts hold funds on behalf of drivers. The fallback order: specific escrow type account → Default Escrow Account → Default Liability Account.
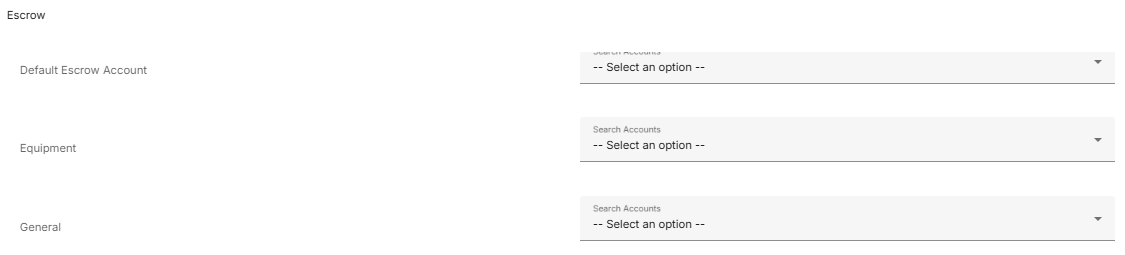 Escrow mapping screen
- Complete the setup. Once all mappings are configured, click Done, then click Submit. A green checkmark will appear next to the integration.
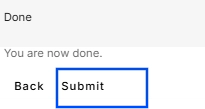
- Done and Submit buttons at end of wizard.*
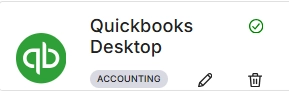 Green checkmark next to QuickBooks Desktop integration.
Result
A green checkmark appears next to the QuickBooks Desktop integration on the Integrations page. All Alvys transaction types are now connected to the correct accounts in your QBD Chart of Accounts.Troubleshooting
Green checkmark does not appear after clicking Submit
- Refresh the Alvys Integrations page.
- If the green checkmark still does not appear, reopen the integration dialog and verify the Web Connector is active and the Company File Path is correct.
- Re-save the settings by clicking Submit again.
- If the issue persists, contact Alvys Support.
Bill fails to export when it includes an e-check
- Return to the E-Checks section of account mappings (Step 6).
- Map the e-check fee to a specific e-check revenue account, or select the default e-check revenue account.
- Save and re-export the bill.
Export error due to wrong account type
- Return to the default account mappings (Step 2) and verify that the Accounts Receivable and Default Revenue fields point to Revenue-type accounts.
- Verify the Accounts Payable and Default Expense fields point to the correct liability and expense account types.
- Correct any mismatches and save.
Account does not appear in a mapping dropdown
- Verify the account exists in your QBD Chart of Accounts.
- Ensure the Web Connector has run at least one successful sync so the QBD account list is up to date in Alvys.
- Refresh the mapping screen and check the dropdown again.
- If the account still does not appear, contact Alvys Support.