Connect (link and authenticate) QuickBooks Desktop to Alvys using the QuickBooks Web Connector and configure how transactions are exported and synced. This article covers initial connection setup, configuration settings, and recommended configuration choices.
Overview
The Alvys to QuickBooks Desktop integration exports, syncs, and pushes customer invoices, carrier bills, and driver settlements from Alvys to QuickBooks Desktop (also called QuickBooks Desktop, QBD, or Intuit QuickBooks Desktop). It also imports payment status updates from QuickBooks Desktop back into Alvys. The connection is established using the QuickBooks Web Connector, which must be installed and running on the same computer as QuickBooks Desktop. Each Alvys subsidiary is connected to QuickBooks Desktop separately.Before You Start
Before connecting, confirm the following:- You have the “Admin” or “Partner Admin” role in Alvys (the “CompanyProfileManager” permission controls access to integration settings).
- QuickBooks Desktop is installed on your computer.
- The QuickBooks Web Connector is installed on the same computer as QuickBooks Desktop. If you do not have it, download it from the Intuit Developer site before continuing.
- QuickBooks Desktop is open and you are logged in as a user with permissions to connect third-party applications.
- The Alvys subsidiary you want to connect has already been created in Alvys.
Steps
- Open the QuickBooks Desktop integration in Alvys.
- Navigate to your username > Integrations, or go directly to https://app.alvys.com/#/manage/integrations.
- Select Accounting from the list of integration types.
-
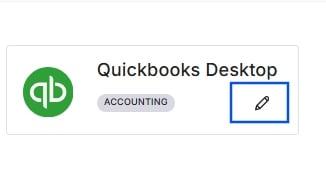
Click the edit icon next to QuickBooks Desktop to open the integration dialogue.
-
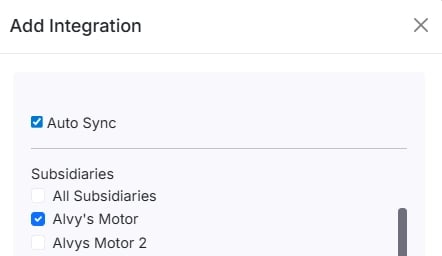
Select the Alvys subsidiary you want to connect to QuickBooks Desktop.
- Click Next to continue to the connection step.
- Download the QuickBooks Web Connector configuration file. Click the Download QWC File button in the Alvys integration dialog. This downloads a .qwc configuration file that you will open in the QuickBooks Web Connector.

- Open the QuickBooks Web Connector. Open the QuickBooks Web Connector on your computer. QuickBooks Desktop must be open and running before you proceed. Alternatively, open the Web Connector from inside QuickBooks Desktop by going to File > App Management > Update Web Services.
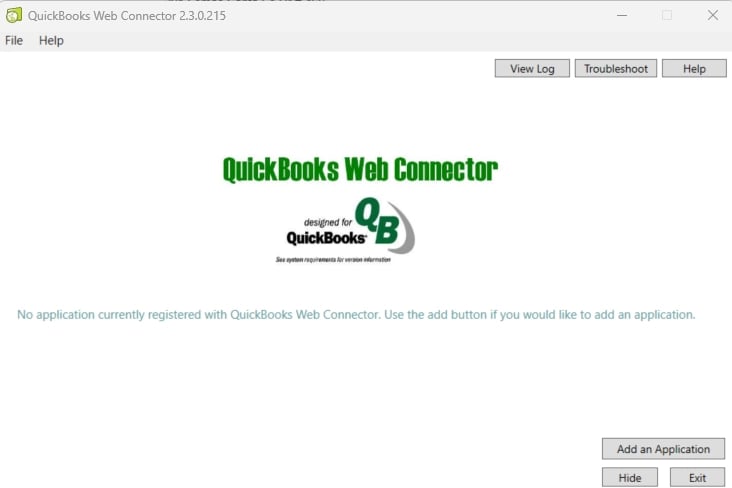
- Add the configuration file to the Web Connector.
- In the QuickBooks Web Connector, click Add an Application.
- Browse to the .qwc file you downloaded earlier and open it.
- QuickBooks Desktop will prompt you to authorize the connection. When the Application Certificate window appears, select “Yes, always; allow access even if QuickBooks is not running” and click Continue, then Done. Selecting this option allows transactions to sync automatically without requiring QuickBooks Desktop to be manually open each time. If QuickBooks Desktop is closed, transactions queue in Alvys for up to 7 days; after that they must be re-triggered from Alvys.
- The Web Connector will prompt you for a password. Enter the password shown in the Alvys integration dialog.
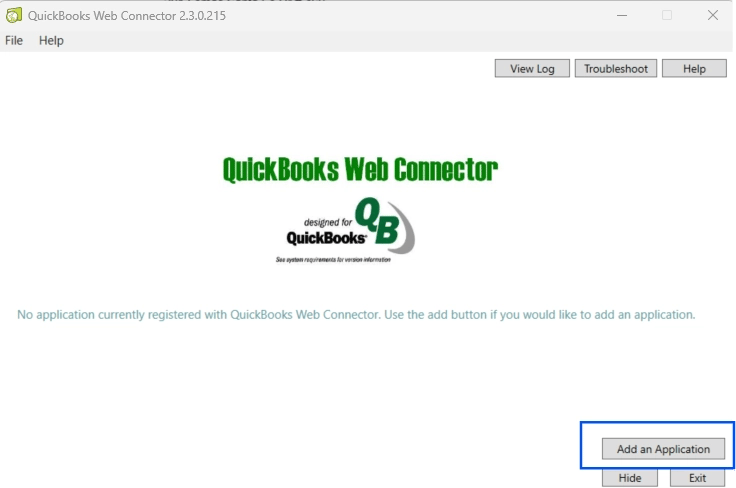
- QuickBooks Web Connector Add an Application dialog.*
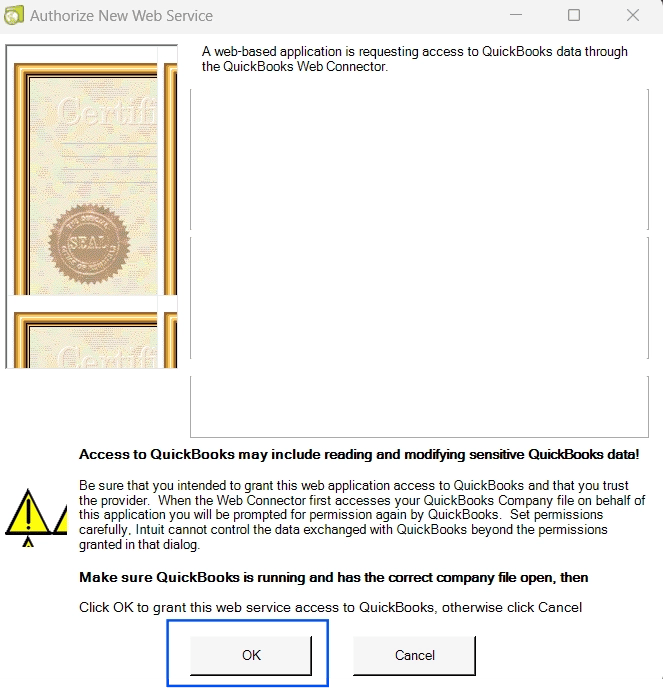
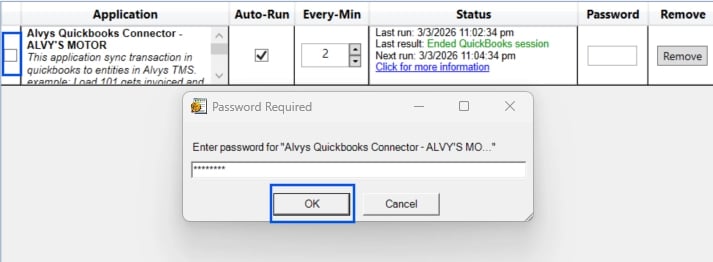
- Check the box next to the Alvys application entry in the Web Connector.
- Set the sync interval and run the first sync.
- In the QuickBooks Web Connector, set the auto-run interval for the Alvys entry. A 5-minute interval is recommended to keep QuickBooks Desktop and Alvys in sync without overloading the connection.
-
Click Update Selected to run the first sync and confirm the connection is working.
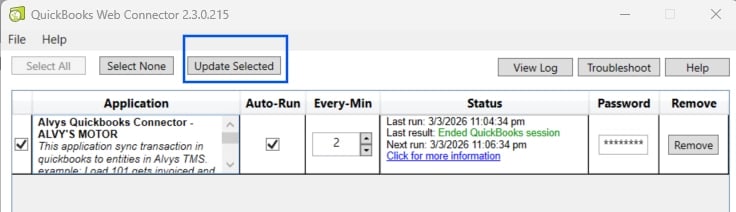
- QuickBooks Web Connector with auto-run interval field and Update Selected button. *
- Return to Alvys and verify the connection. Return to the Alvys integration dialog. After the Web Connector sync completes, Alvys will display confirmation that QuickBooks Desktop is connected. Click Next to proceed to Configuration Settings. To confirm the connection inside QuickBooks Desktop, go to Edit > Preferences > Integrated Applications > Company Preferences and verify the Alvys integration is listed with its access checkbox selected. To find the QuickBooks company file path (required in Alvys Account Settings), press F2 or Fn+F2 inside QuickBooks Desktop to open the Product Information window; copy the path shown in the File Information section and paste it into Account Settings in Alvys. Then select the Auto Sync Checkbox and select the subsidiary before saving.
- Configure the Edit Sequence setting before enabling other settings. Before enabling any other configuration settings, review whether Edit Sequence is appropriate for your environment. Edit Sequence controls how Alvys handles QuickBooks Desktop’s transaction locking mechanism. Enabling or disabling Edit Sequence after transactions have already been synced can cause sync errors on existing transactions. Set this value before transactions are exported.
- Save your configuration. After reviewing and setting your configuration options, click Save. The integration becomes active for the selected subsidiary on the next sync cycle.
Recommended Settings
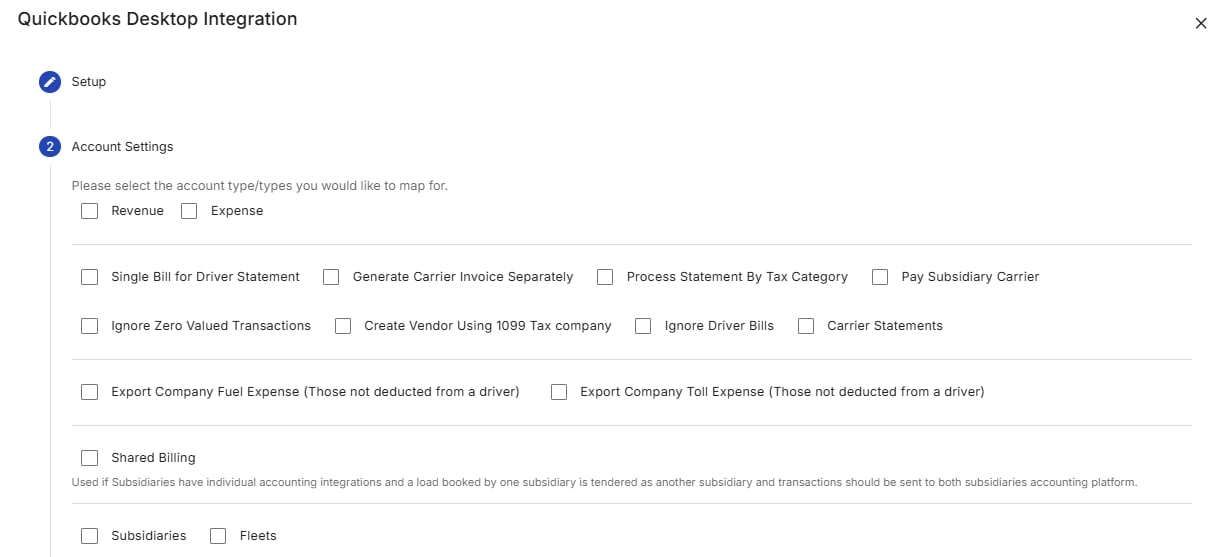
The following settings are recommended for most QuickBooks Desktop integrations to reduce manual work and improve export reliability:- Enable Ignore Driver Bills if your drivers are paid through a payroll system outside QuickBooks Desktop. This prevents duplicate payroll entries and keeps QuickBooks Desktop focused on carrier and customer transactions.
- Enable Ignore Zero Valued Transactions to prevent 0 transaction is later updated and re-exported.
- Enable Generate Carrier Invoice Separately if your workflow requires physical carrier invoices to be reviewed and confirmed in Alvys before the carrier bill is exported to QuickBooks Desktop.
- Review Edit Sequence before enabling any other settings and before the first sync. Changing this setting after transactions have been exported can produce sync errors on existing records.
Configuration Settings
Configure these settings after the connection is established. Settings that interact with or conflict with each other are described in the Configuration Dependencies and Incompatible Settings section below.Transaction Types
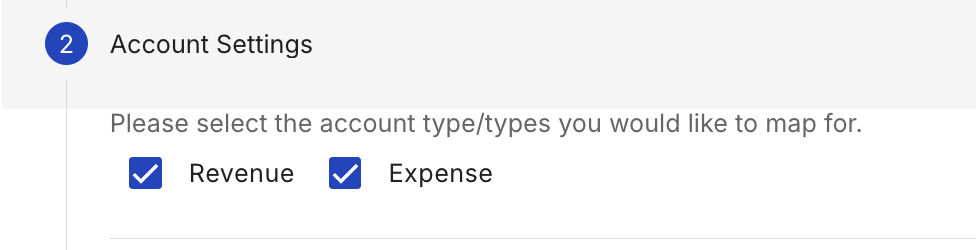
Select the transaction types to export. Revenue exports customer invoices. Expense exports carrier bills and driver settlements. Your selection here takes precedence over all other configuration settings; if a transaction type is not selected, its associated settings have no effect.