
A load record in Alvys includes a set of management controls for tracking progress, uploading documents, and taking workflow actions at each stage of the freight lifecycle.
Overview
Every load in Alvys has a row of action buttons and a Manage dropdown that control, govern, and adjust what you can do at each stage. The available options change based on the load’s current status and your account permissions. This article explains what each control does.Where to Find It
Open any load record. The action buttons appear in the management ribbon just below the carrier details panel. The Manage button at the top of the load opens a dropdown with status and workflow actions.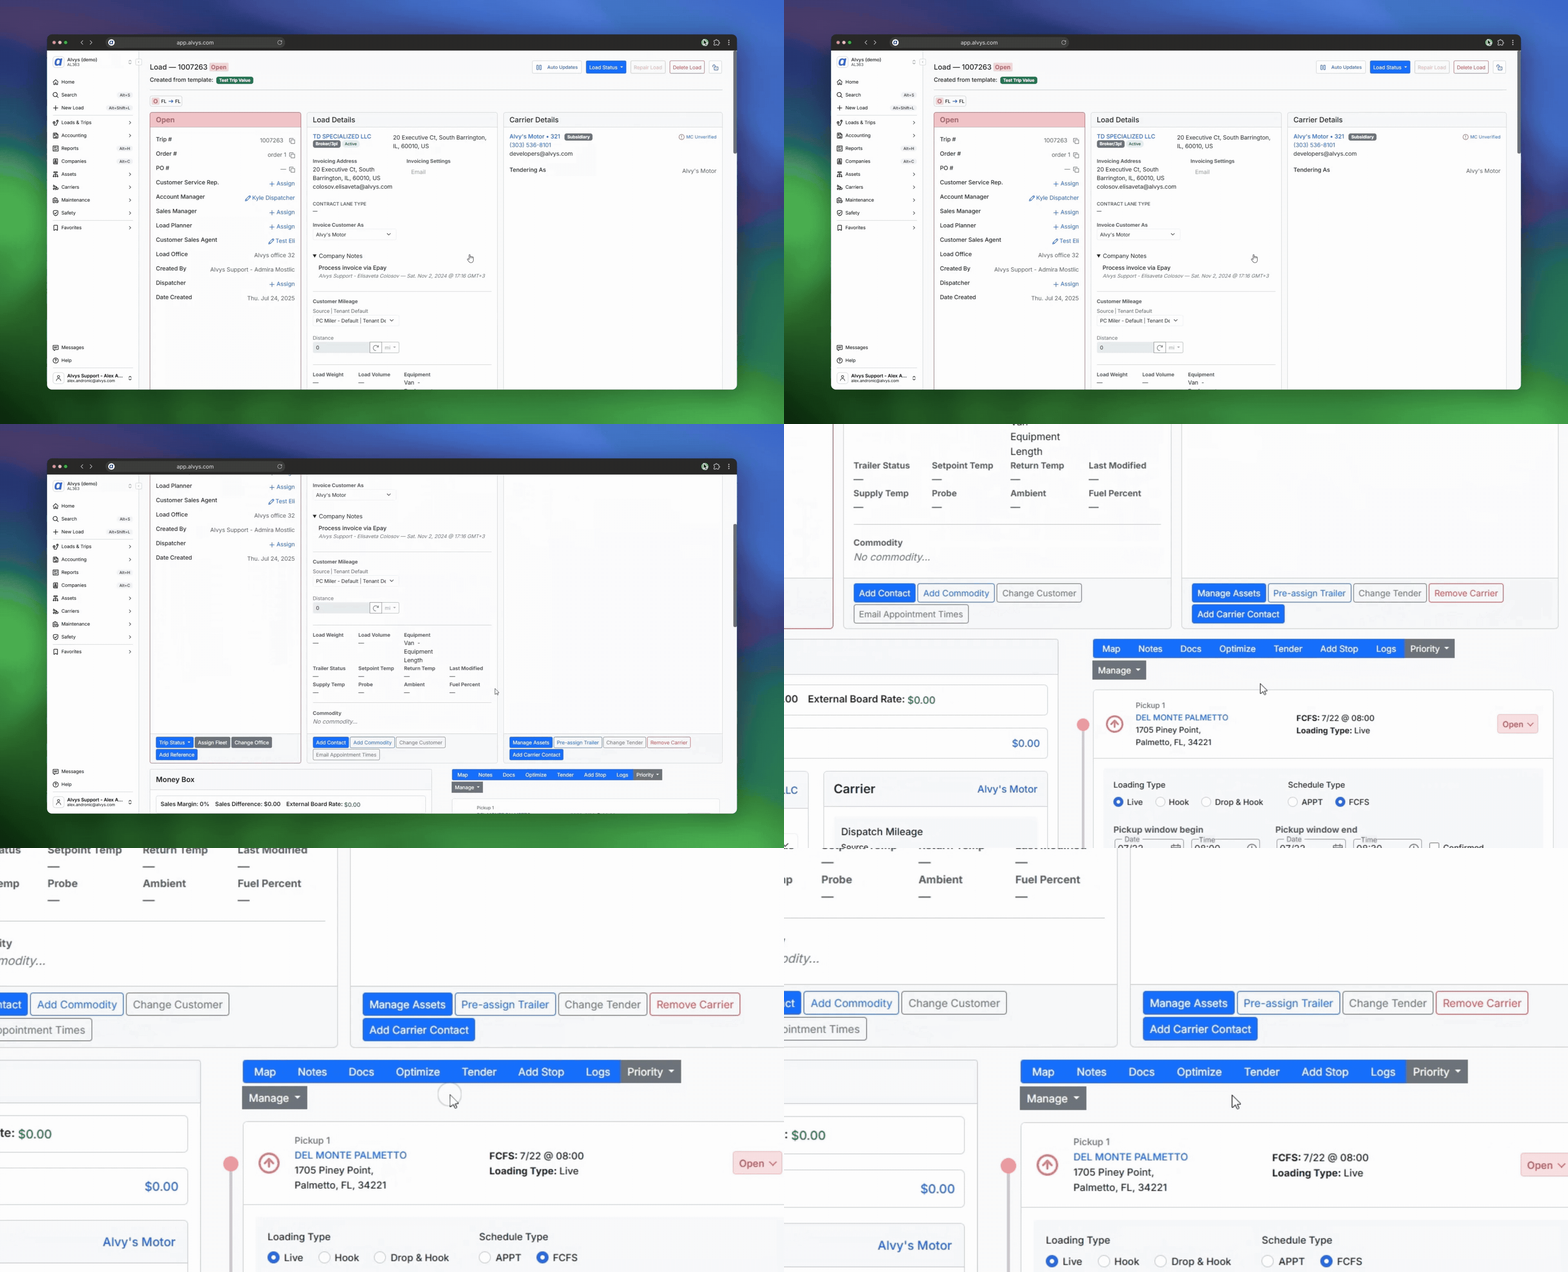
Key Concepts
Map
Opens a visual map of the load’s route and stop locations so you can review the planned path.Notes
Lets you add free-form internal notes to the load record. Notes are visible to other users on your account but are not sent to the carrier.Docs
Opens the documents panel where you can view and upload load-related files such as the rate confirmation and proof of delivery.Check Calls
Records a driver check-in update for the load, including location and status notes.Add Stop
Inserts an additional stop into the trip route. This option is only available while the load has not yet reached Delivered or TONU status. Once the load is delivered, the stop list is locked. If you need to add or modify a stop after delivery, contact Alvys Support.- Open the load record.
- Click Add Stop in the management ribbon.
- Enter the stop details, including the location address, stop type, and scheduled time window.
- Click Save to insert the stop into the route.
Tender
Accesses bill of lading and load manifest features for the trip.Optimize
Rearranges stop order or initiates a trip split to adjust the route.Manage
Opens a dropdown menu with status and workflow actions. The options shown depend on the load’s current status and your account permissions. Common actions include Dispatch, Release, TONU, Reserve, Revert Status, Clone, and Cancel Load.Clone
Creates a copy of the load with the same route and carrier information. Document attachments are not copied to the new record.- Open the load you want to copy.
- Click Manage on the Load Management ribbon.
- Select Clone from the dropdown.
- The new load opens pre-filled with the original route and carrier. Update any fields as needed, then save.
Reserve
Places the load in Reserved status. This option is only available when the load is in Open status. It does not appear once the load has advanced to Covered, Dispatched, In Transit, Delivered, or any other later stage.- Open the load record.
- Click Manage on the Load Management ribbon.
- Select Reserve from the dropdown.
- Confirm when prompted. The load status updates to Reserved.
Revert Status
Returns the load to Delivered status. This option is available only when the load is in Released or Queued status, and it is not available if the trip status is Completed.- Open the load record.
- Click Manage on the Load Management ribbon.
- Select Revert Status from the dropdown.
- Confirm the revert when prompted. The load returns to Delivered status.
Cancel Load
To cancel a load in Alvys:- Open the load you want to cancel.
- Click Manage at the top of the load.
- Select Cancel Load.
- Confirm the cancellation when prompted.
- A cancelled load cannot be restored. If the load is needed again, create a new load or clone the cancelled one.
- The option may depend on the load’s current status and your permissions.
- Operational loads should generally be cancelled, not deleted. Only training or test loads may be eligible for deletion, depending on the case.
- If the load is already invoiced, released, factored, or tied to a batch, it may need to be reverted first before it can be cancelled.
How to Use It
For step-by-step instructions on specific actions available from this screen, see:Settings & Permissions
The Manage dropdown shows only the actions your account is permitted to take at the load’s current status. For example, Release appears only if you have the “ReleaseLoads” permission and the load is in Delivered or TONU status. Contact your administrator if an expected action is not visible.Limits & Behavior
- Add Stop is not available after a load reaches Delivered or TONU status. Once a load is delivered, the stop list is locked.
- Tender availability varies depending on the load type and carrier setup.
- Clone creates a new load with the same route and carrier information but does not copy document attachments.
- Cancel Load removes the load from active dispatch. A cancelled load cannot be restored; a new load record must be created.
FAQs
Q: Why don’t I see all the options listed under Manage? A: The Manage dropdown shows only the actions that are valid for the load’s current status and your account’s permissions. If an option is missing, either the load’s status does not allow that action, or your account does not have the required permission. Q: Can I add a stop after the driver has picked up? A: Yes, as long as the load has not yet reached Delivered or TONU status. Once a load is delivered or marked TONU, the route is locked. Q: How do I revert a load’s status from Released back to Delivered? A: Click Manage on the Load Management ribbon and select Revert Status. This option is available when the load is in Released or Queued status and the trip is not marked Completed.Go Deeper
Marking a Load as TONU
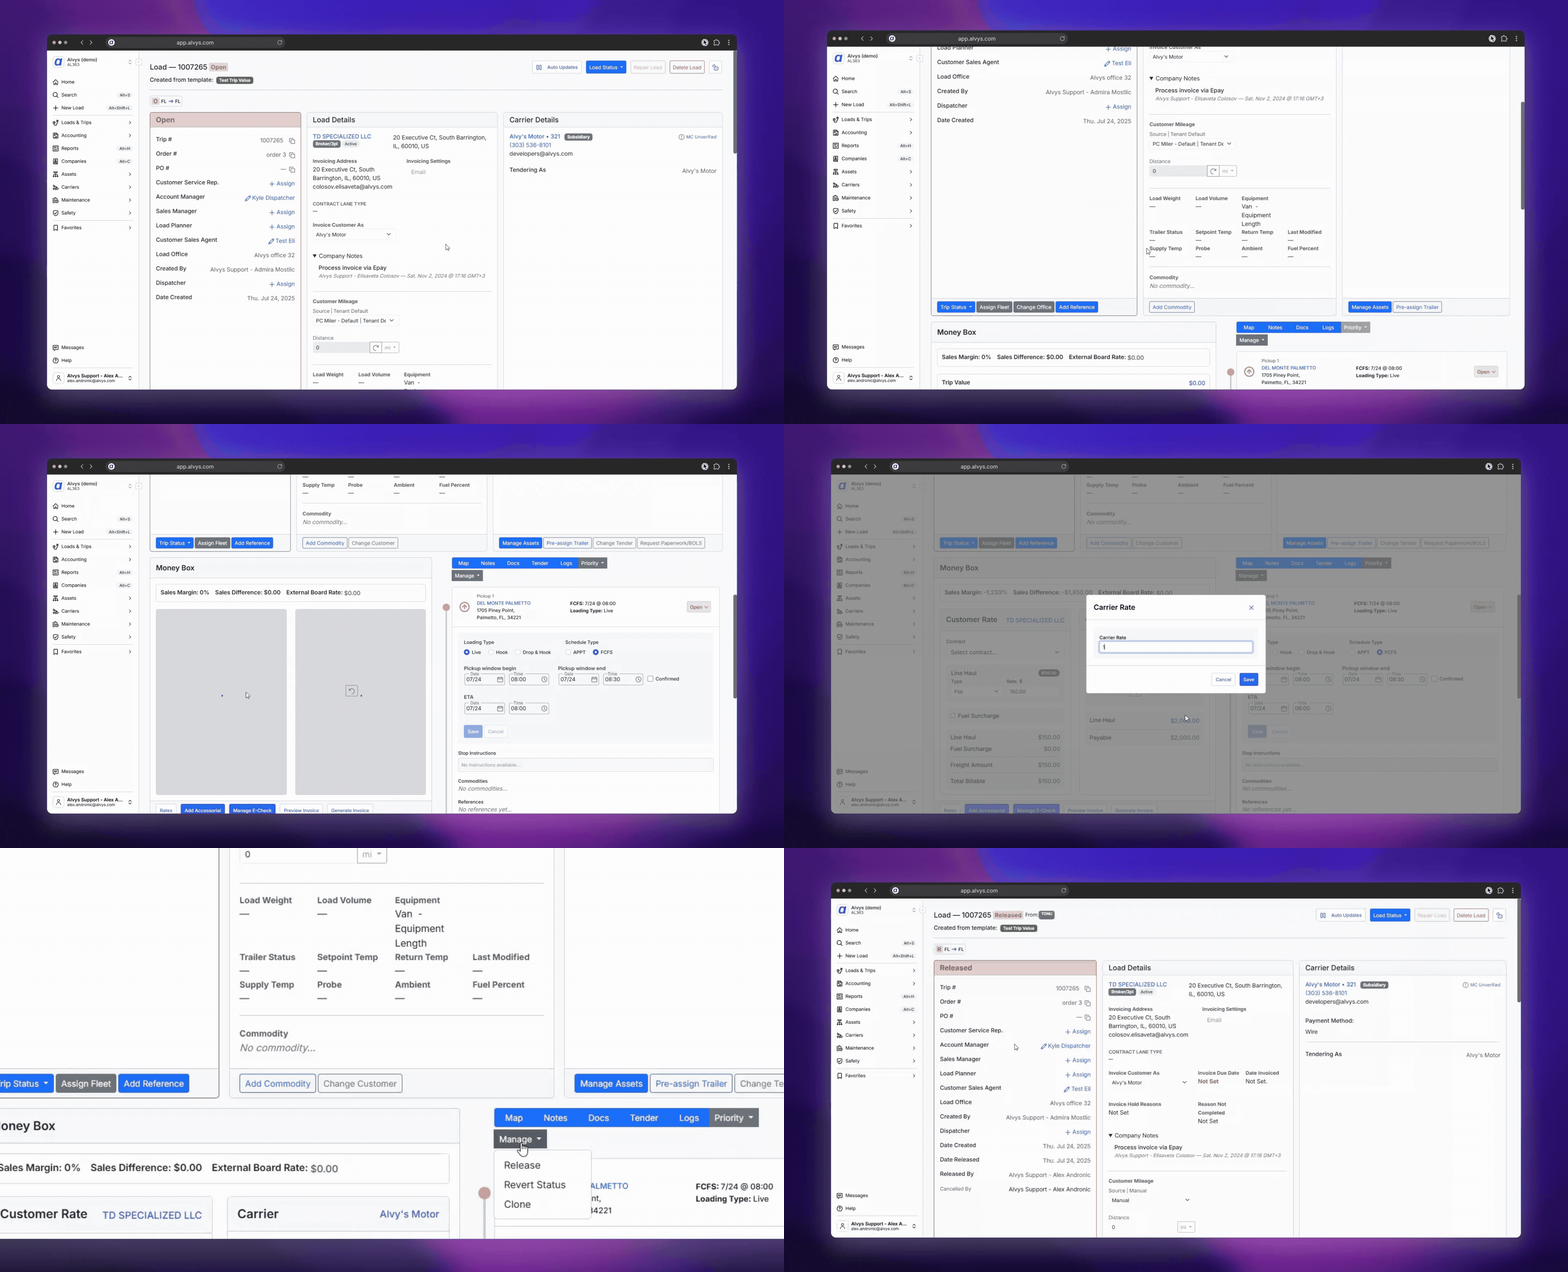
If a load is canceled after being assigned but before delivery, you may need to mark it as TONU (Truck Ordered Not Used).Steps to Mark as TONU
- Open the load via the Global Search bar (by load #, trip #, or broker order #)
- Click Manage on the Load Management ribbon
- Select TONU from the dropdown
- Confirm when prompted
💡 TONU is only available for loads with assets assigned and not yet delivered. The load must be in statuses like Covered, Dispatched, or In Transit.
Adjust Stop Status
Update the stop status depending on what occurred in real life. To change a stop status, go to each stop (pickup or delivery) and click the downward arrow on the right side of the location title and address:- Arrived if the driver reached the shipper
- Picked Up if the driver has loaded and is ready to depart. This moves the load to In Transit status.
- Empty for the delivery location. Marking the delivery location as empty moves the load to Delivered status.
Update Money Box
- Update Customer Rate – adjust the customer-facing amounts, including Line Haul, Fuel Surcharge, and the total Freight Amount / Total Billable.
- Update Carrier Rate – adjust the Carrier Line Haul amount, which determines the carrier Payable.
- Update Owner Operator / Driver Payables – adjust the Trip Value or other payable rates for the driver or owner operator.